Ingredients & Substitutions
Here I explain the ingredients for the best burgers, what each one does in my recipe, and substitution options. For measurements, see the recipe card.
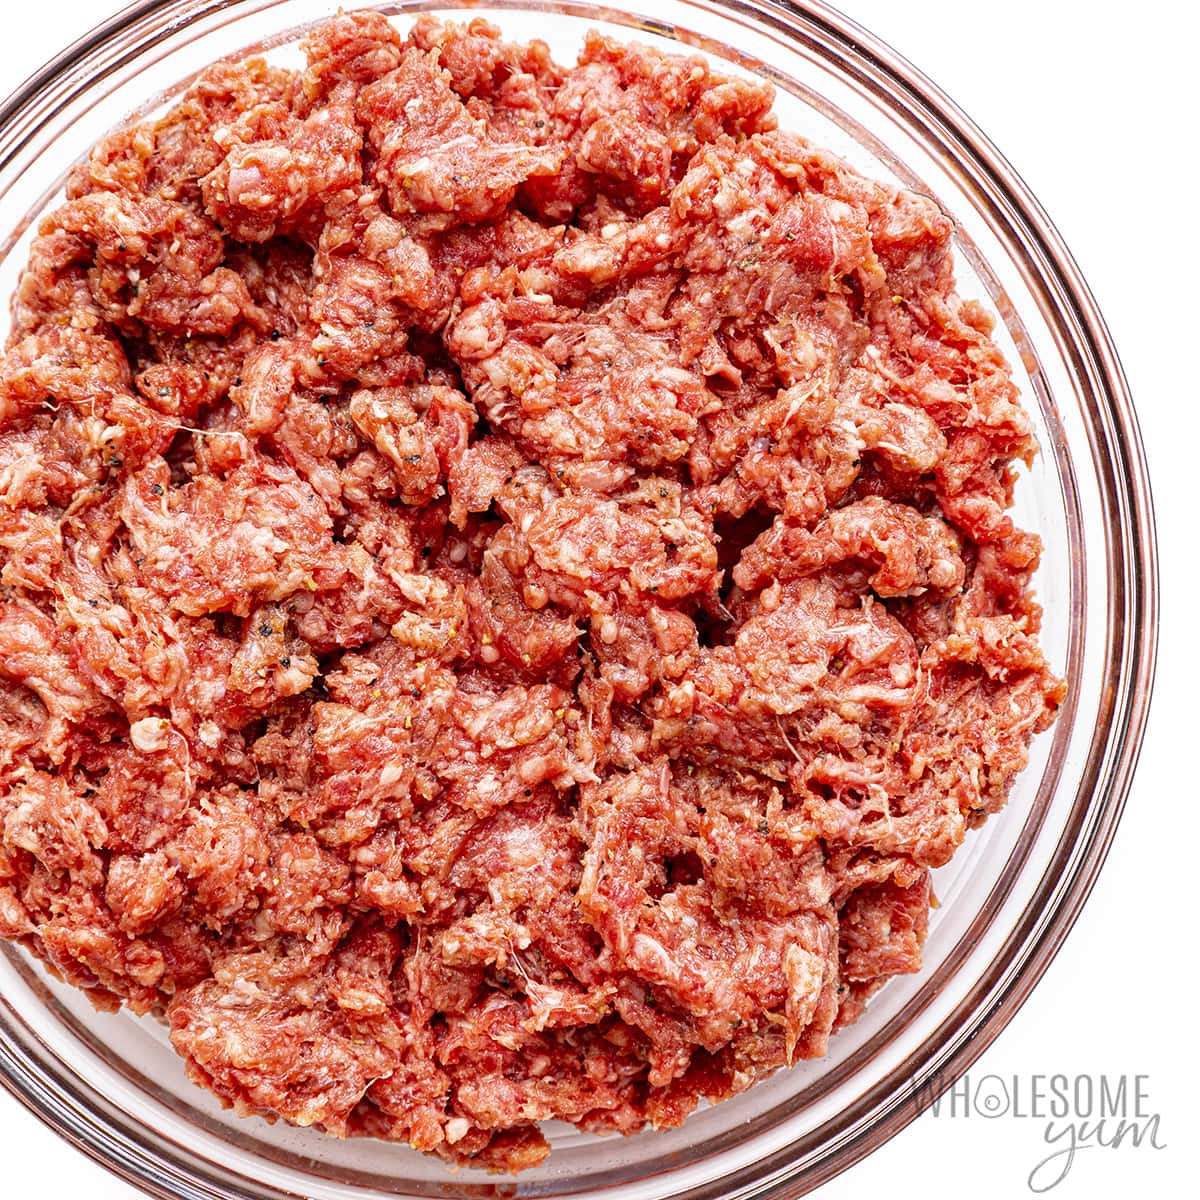
Ground Beef – I use 85/15 beef most often, but many people prefer 80/20 (usually ground chuck) for even juicier meat. 90/10 ground beef (usually ground sirloin) can be more dry, but burgers with it still come out quite juicy using the ingredients I add below. Pick what you like! If you want to use turkey or lamb, you can add these same ingredients, but I like them better following my turkey burger recipe and lamb burger recipe instead. Secret Ingredients – My secret to juicy burgers is mixing olive oil and Worcestershire sauce into the meat prior to cooking! This locks in the moisture and amps up the flavor. Try it and taste the difference. Seasonings – I keep it simple with sea salt, black pepper, and a little garlic powder. You could also use 2 teaspoons jarred minced garlic instead. The salt is actually the most important from a flavor perspective. My rule of thumb is to use one teaspoon per pound of meat. Long ago, I read somewhere that this was Julia Child’s recommendation for meat, and she’s right!
How To Make Juicy Burgers
I have step-by-step photos here to help you visualize the recipe. For full instructions with amounts and temperatures, see the recipe card. If you want more intense flavors, you can season burgers with 1 tablespoon of my jerk seasoning for a spicy and zesty kick, or Montreal seasoning for a savory steak flavor. Both already have salt and heat, so you can skip the separate salt and pepper. For something more subtle, I love adding a teaspoon of Italian seasoning to my burger recipe.
How Long To Cook Burgers?
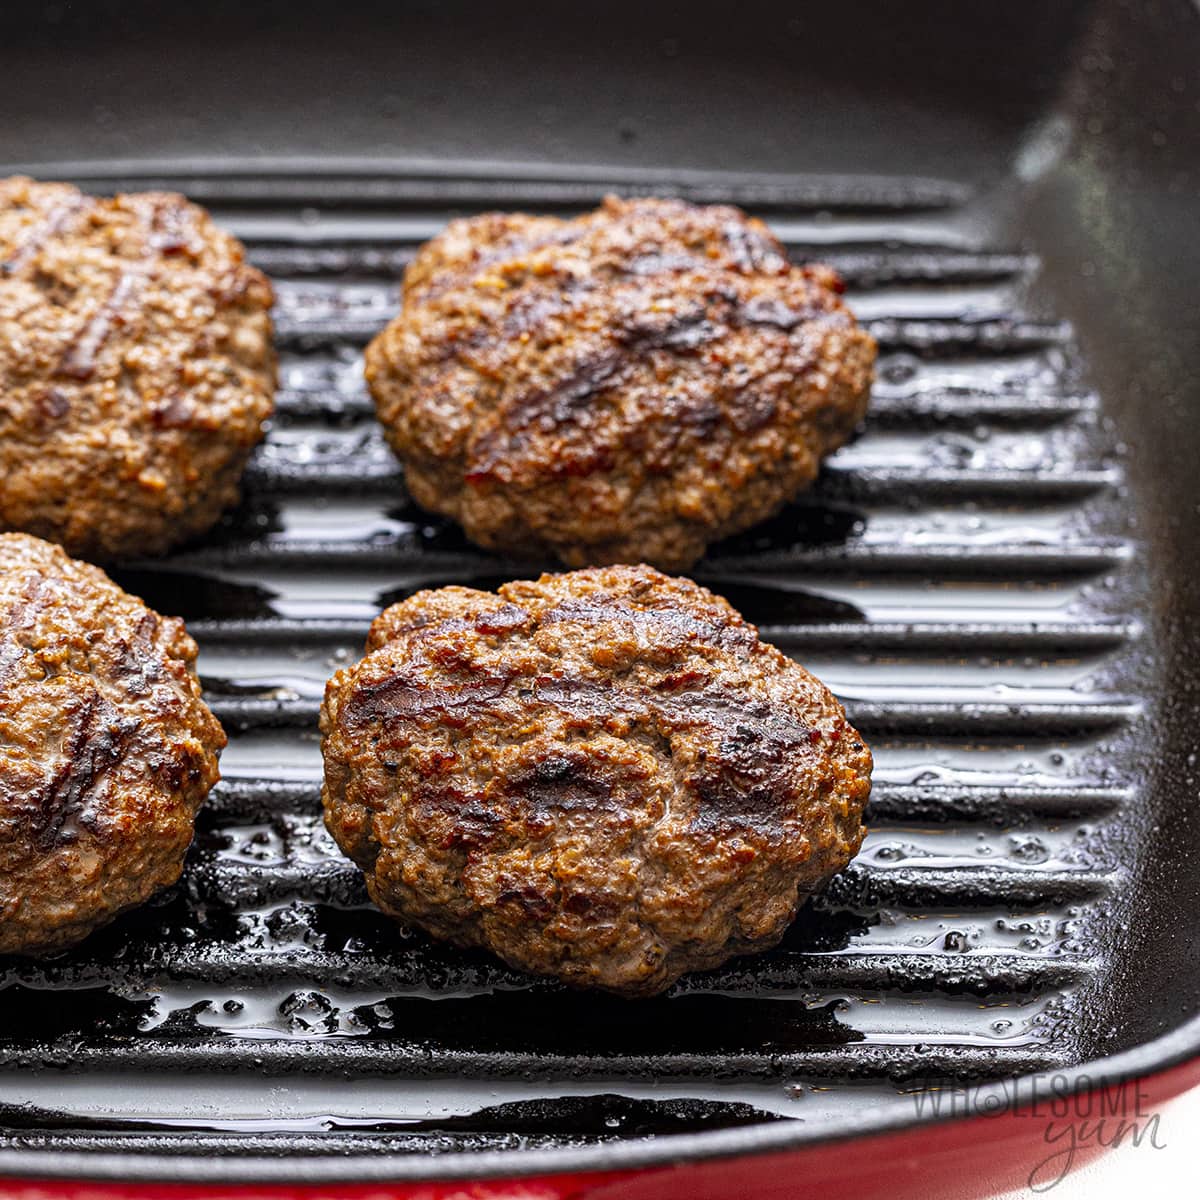
For medium doneness, I cook burgers on the grill as well as the stovetop for a total of 6-8 minutes. The internal temperature is the best way to tell they are done, so I highly recommend a meat thermometer (I use this one). The USDA officially recommends at least 160 degrees Fahrenheit (well done) for beef, but for juicy burgers I recommend medium (140-145 degrees F).
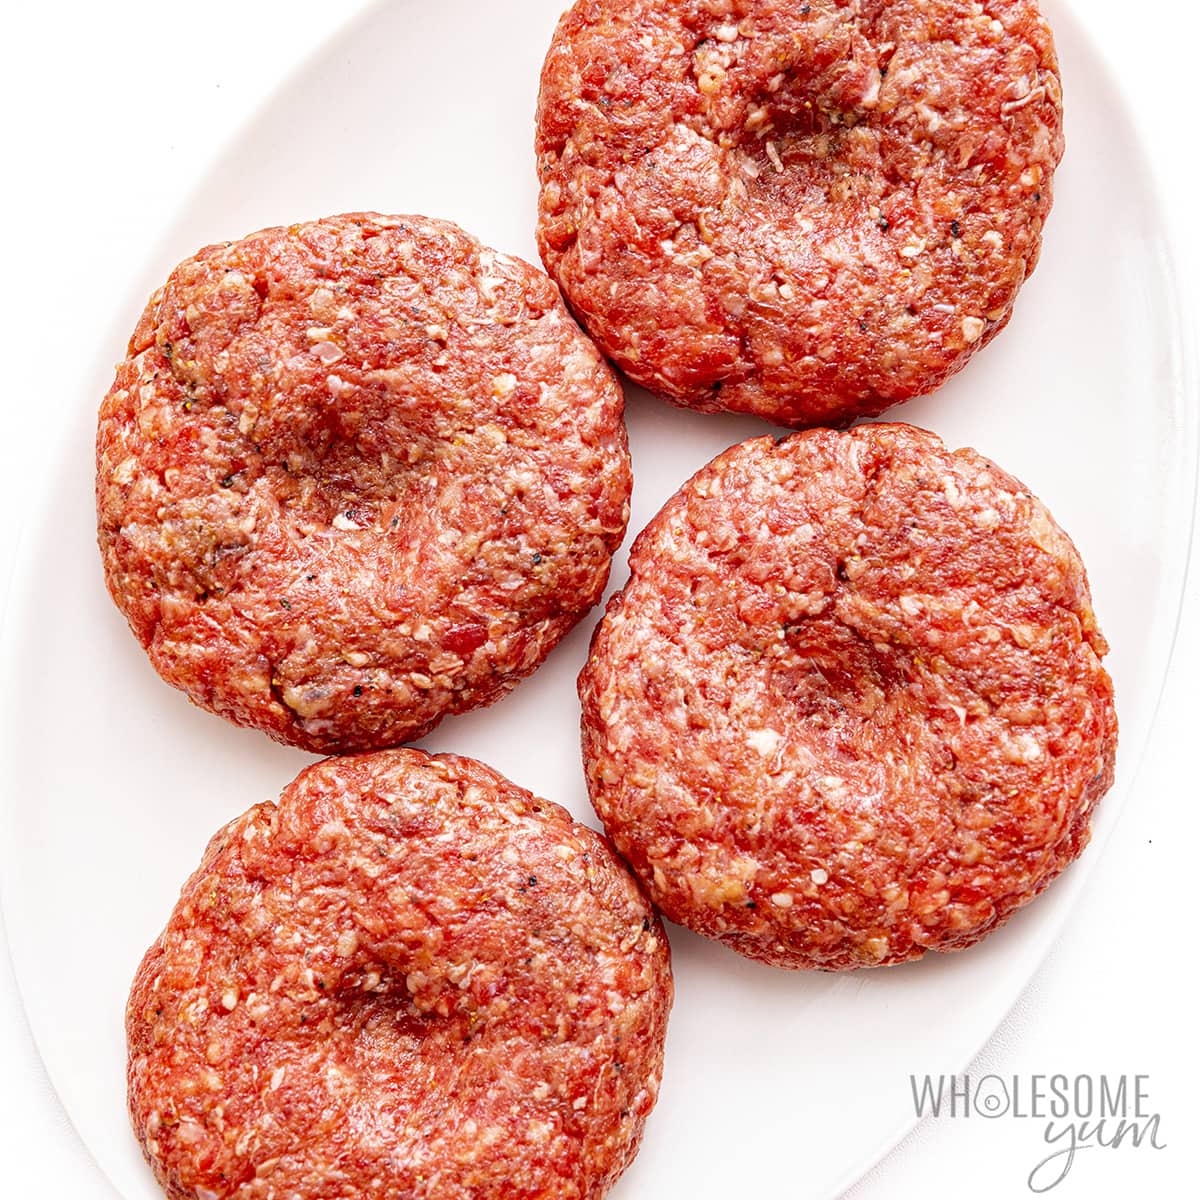
Don’t overwork the meat. Mixing or mashing too much pushes the juices out and leads to a tough burger. This is why I always mix the seasonings first and then add the beef, so I don’t have to mix it longer than necessary. Use cold hands if you can. I just wash my hands with cold water first. This prevents the meat from heating up and becoming rubbery. Form the hamburger patties gently. Again, this is to avoid driving out the juices. You might notice a common theme in my burger recipe tips — we’re doing everything to keep the moisture inside the meat! Remember that thumbprint. I do this to prevent the burgers from puffing up as they cook, which happens because the heat pushes the juices to the middle. If you start out with an imprint in the middle, you’ll get the best burgers that are not only nice and flat, but also more evenly cooked. I place them on the grill or pan flat side down first, which helps with a nicer sear, and by the time I flip the thumbprint on top is less pronounced or even gone. Crank up the heat. I recommend medium-high for both the grill and the stovetop, and you want to give it enough time to heat up. This will give you a nice sear (hello, golden brown crust — I love those little crispy bits on the edges!), prevents sticking, and also makes for super juicy burgers. Avoid moving them around. Once you add the patties, leave them undisturbed for 4-5 minutes, then flip only once. Again, it’s all about that sear! Don’t push down on the burgers. I don’t know who started this idea, but pushing down with a spatula literally pushes all the juices out. Just don’t. Let them rest, and don’t cut open to check. If you cut them open to find out if they are done, all the juices will leak out and you’ll end up with a dry burger. Instead, use a meat thermometer or my time chart below to check for doneness. And wait a few minutes after cooking before you eat — this lets the juices settle, so they don’t all run out.
Here’s my handy chart of times and temperatures for the best burger recipe: The internal temperature will rise an additional 5 degrees from the temperatures above while resting, so these temps are when you’d remove from heat.
Storage Instructions
Store: To keep my leftover burgers juicy, I wrap them in plastic wrap before placing in an airtight container. Keep them in the refrigerator for up to 4 days. Meal prep: It’s totally fine to form the patties a day in advance. Just wrap them tightly and keep in the fridge. Reheat: My favorite way to reheat these is actually my air fryer, because it does the best job of not drying them out. But you can also sizzle them on the stove with a little oil, pop in the oven at 350 degrees F, or even reheat burgers on the grill over medium heat. Freeze: You can freeze my burger recipe before or after cooking, but I recommend before cooking. I shape the patties, wrap in plastic to avoid freezer burn, and place in a zip lock bag. Freeze for up to 6 months. Thaw in the fridge overnight before cooking or reheating. You can keep cooked burgers in the freezer for up to 3 months, but it’s much harder to get juicy burgers that were previously cooked. I crumble them and use them in soups instead.
Serving Suggestions
The best burgers deserve the best fixings and side dishes! Here are my faves to serve with them:
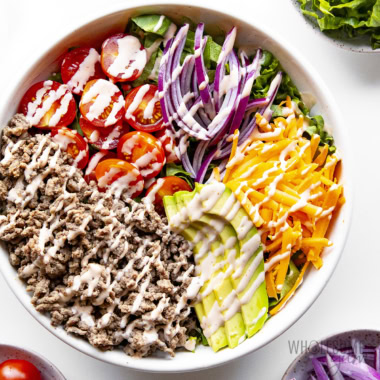
Buns – I usually make a lettuce wrap, but this time I picked up some gluten-free buns (above). You can also make my low carb hamburger buns, or serve your juicy burgers over a salad (like my Big Mac salad, but with a whole patty on top). Fixings – My go-to add-ins are tomatoes, onions, my homemade mayonnaise, and sugar-free ketchup. Sometimes I tuck in avocado, bacon, pickles, or even a fried egg. You could also use other condiments — try my sugar-free barbecue sauce, mustard, or spicy mayo (which is similar to burger sauce). Fries – I love to pair this homemade burger recipe with a side of garlic parmesan fries, but they are also fantastic with my classic steak fries, or lighter rutabaga fries (shown above) or zucchini fries. Veggies – If you’re already grilling, might as well make some grilled broccoli, grilled eggplant, or cauliflower steaks. For indoor days, try my roasted cauliflower or sauteed broccoli. Salad – I love a refreshing salad to balance out the rich beef. My faves in the summer are cucumber tomato salad, creamy cucumber salad, and cauliflower potato salad. If you want something a little sweet, my grilled peach salad hits the spot.
My Favorite Tools For This Recipe
Meat Thermometer – My instant-read thermometer reads so fast. No more overcooking while you wait for the temp! Grill Pan – I love grilling burgers, but when the weather doesn’t cooperate, I use this grill pan to make my burger recipe inside. Sometimes I just use a cast iron skillet, but the grill pan is fantastic to get those grill marks.
Please enter your first name for your account. Your saved recipe will also be sent to your email.
Nutrition information is based on 85/15 lean ground beef, and does not include optional cheese. Check for more cooking tips in the post above the recipe card.
📖 Want more recipes like this? Find this one and many more in my Healthy Ebook Bundle!


![]()


![]()
![]()