Ingredients & Substitutions
Here I explain the best ingredients for my cherry crisp recipe, what each one does, and substitution options. For measurements, see the recipe card.
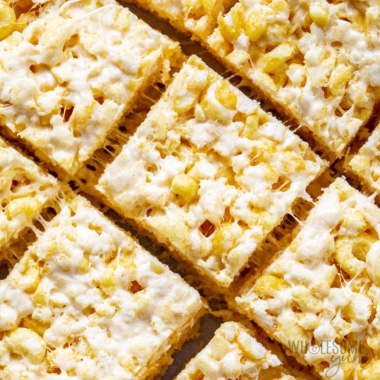
How To Make Cherry Crisp
I have step-by-step photos here to help you visualize the recipe. For full instructions with amounts and temperatures, see the recipe card.
Storage & Meal Prep
Store: If you use the same baking dish I did, you can simply pop the lid on and store it in the fridge for up to 4 days. The topping does get soft, but I still loved the leftovers! Meal prep: Mix the cherry filling and prepare the topping separately, then store them in airtight containers in the fridge. When you’re ready to bake, simply assemble and pop it in the oven! Reheat: Warm your cherry crisp in the oven at 350 degrees F for about 10 minutes. Freeze: This healthy dessert will freeze well for up to 3 months. I like to freeze it in the same container with the lid, but place plastic wrap flush against the surface to prevent freezer burn. Just thaw it in the fridge overnight and reheat.
More Healthy Dessert Recipes
Who says delicious can’t be healthy? Check out some of my other healthy dessert recipes:
Taste the cherry mixture before adding it to the baking dish. If your cherries are extra tart, you might want to add a bit more honey. This amount of filling makes about a single layer of cherries at the bottom of the baking dish. If you want a higher amount of filling relative to topping, use 5-6 cups and bake for 5-10 minutes longer. You can keep the other ingredient amounts about the same, but I would add an extra 1-2 tablespoons of honey. Want a warm, spiced flavor? Mix a teaspoon of cinnamon into the topping. I tried this and liked it better without, but both ways are good. Want to change up the fruit? This recipe would also work well with sliced peaches, blueberries, or quartered strawberries. Feeling fancy? Top with ice cream! My almond milk vanilla ice cream or even frozen yogurt make the perfect creamy upgrades to cherry crisp. Making this for a crowd? Double the recipe and use a 9×13 inch pan. The baking time may be 5-10 minutes longer.
My Tools For This Recipe
Cherry Pitter – I got this new cherry pitter to deal with my bucket of cherries, and it was the best decision. It does 6 at a time, so pitting gos so much faster! Just watch for the occasional pit needing to be manually removed. Baking Dish – I love this one because it comes with a lid, so I can easily pop any leftovers straight into the fridge.
Please enter your first name for your account. Your saved recipe will also be sent to your email. Nutrition info is based on common sweet cherries. Sugar content will be about half of what is listed if you use sour cherries like I did above. Now I just need to figure out what to do with the rest of the bucket. Somehow they are still okay, but won’t last much longer. They’re pretty good to eat fresh too, but a little sour… because, well, they’re sour cherries. What else do you like to make with cherries? Let me know in the comments below!


![]()


![]()
![]()