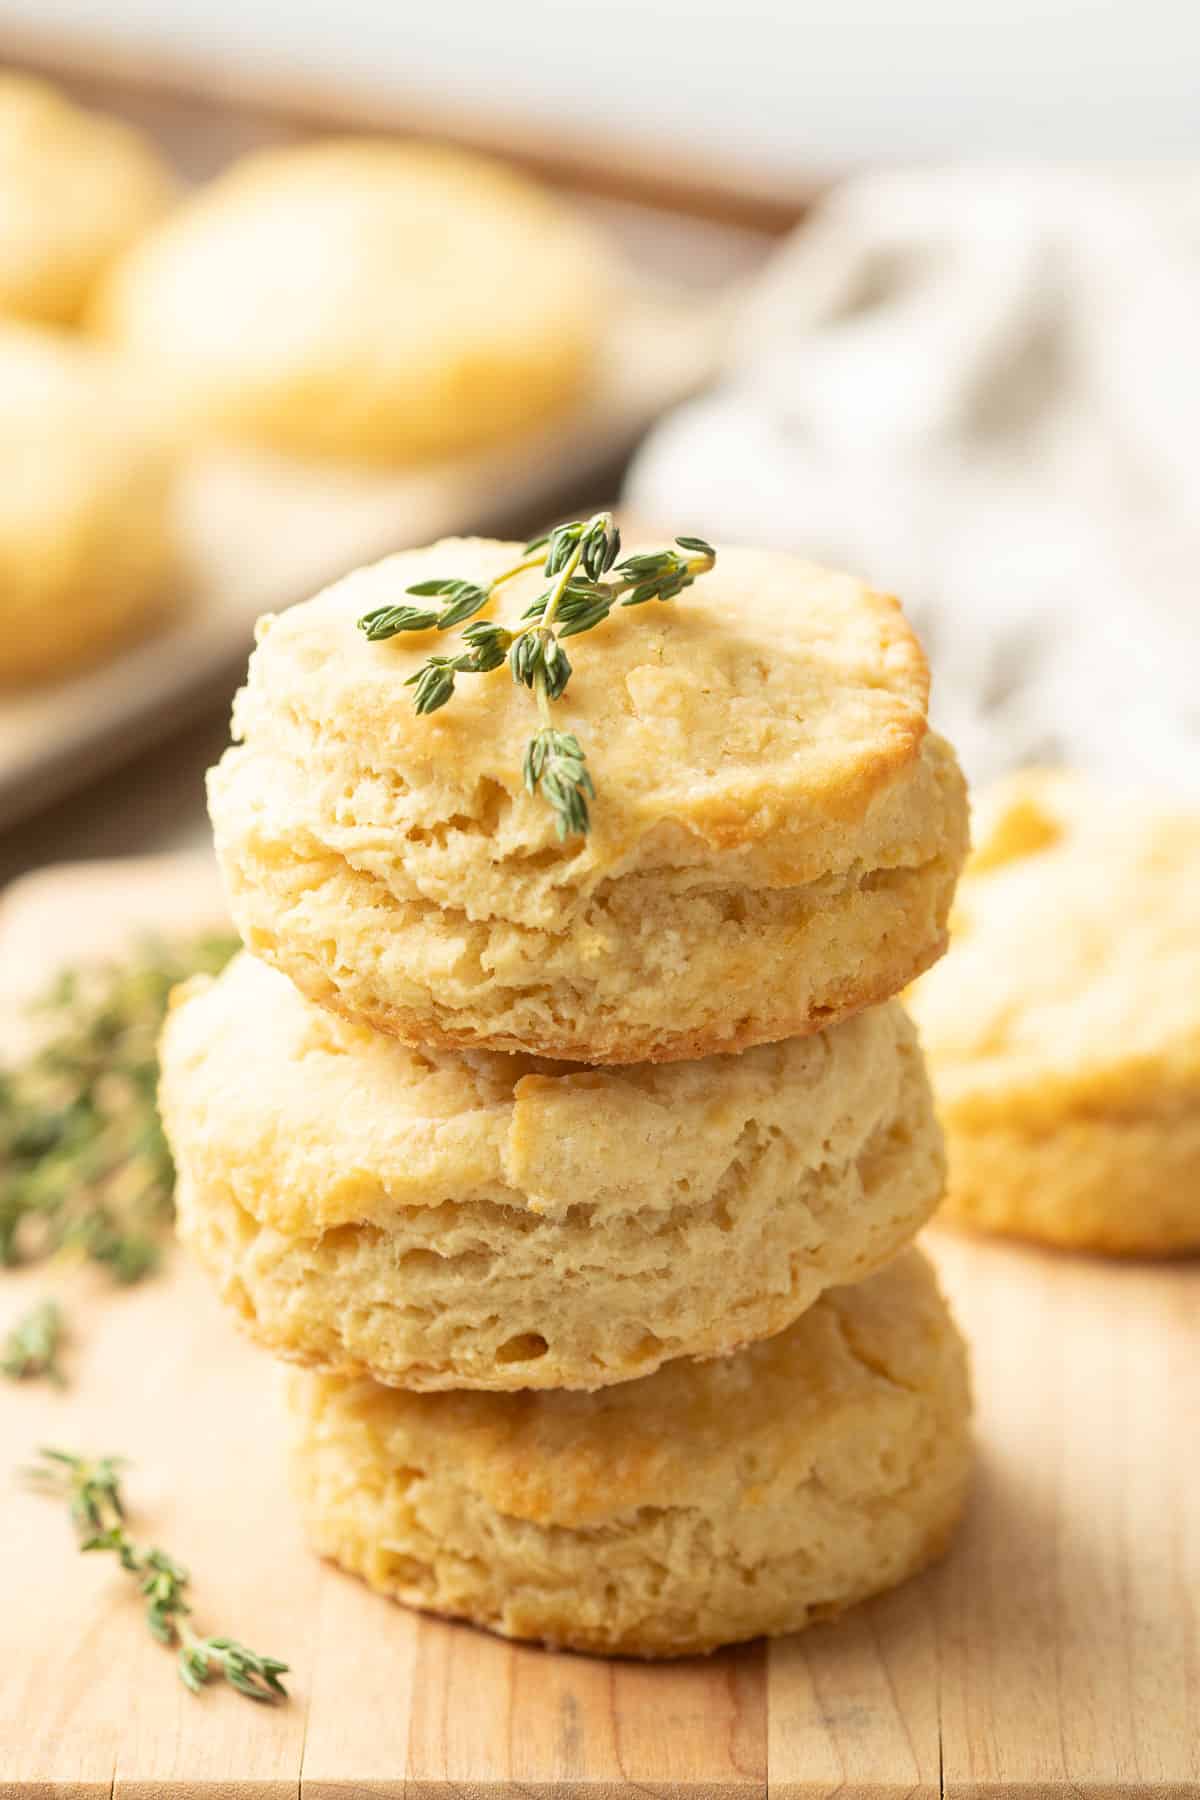
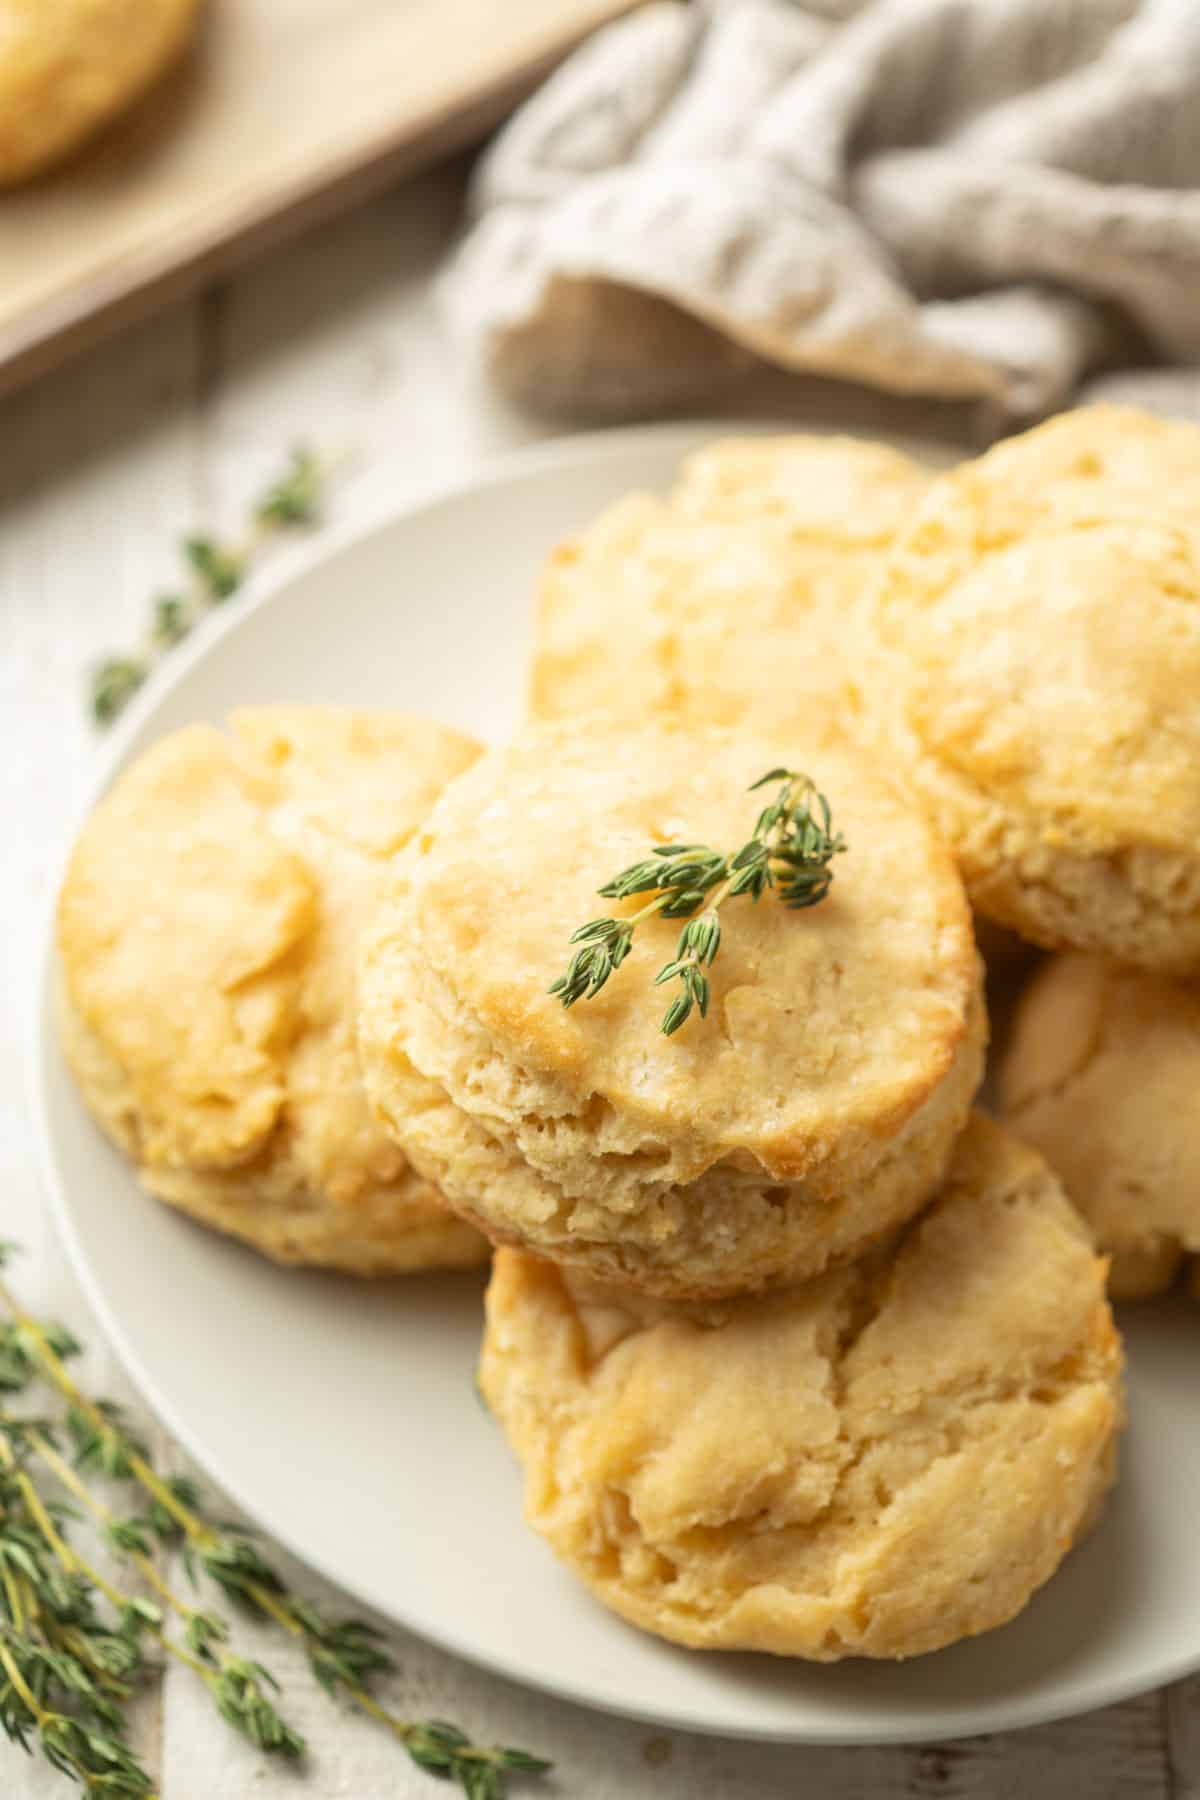
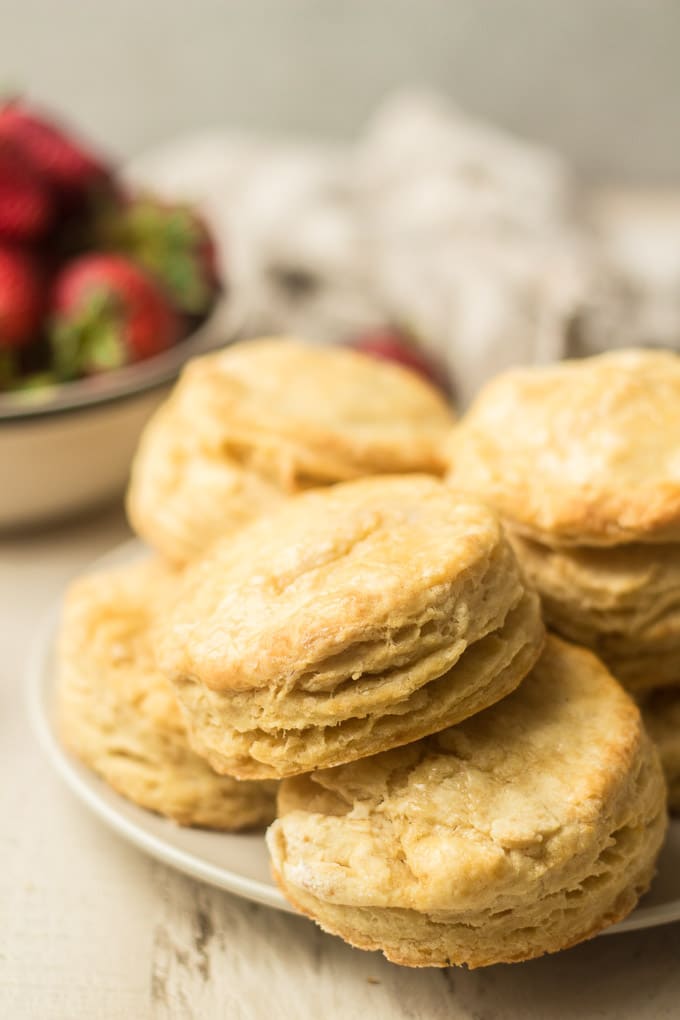
These are the best vegan biscuits you can make. Scratch that: they’ve the best biscuits you can make (vegan or not!). Check out those flaky layers! These babies are soft, tender, buttery and delicious. I had some trouble producing some attractive biscuits, and I’m kind of glad: I made batch after batch in an effort to make pretty biscuits, each time refining the recipe. I think I’ve finally created the perfect homemade vegan biscuit.
Ingredients You’ll Need
You only need a handful of ingredients to make these dairy-free biscuits!
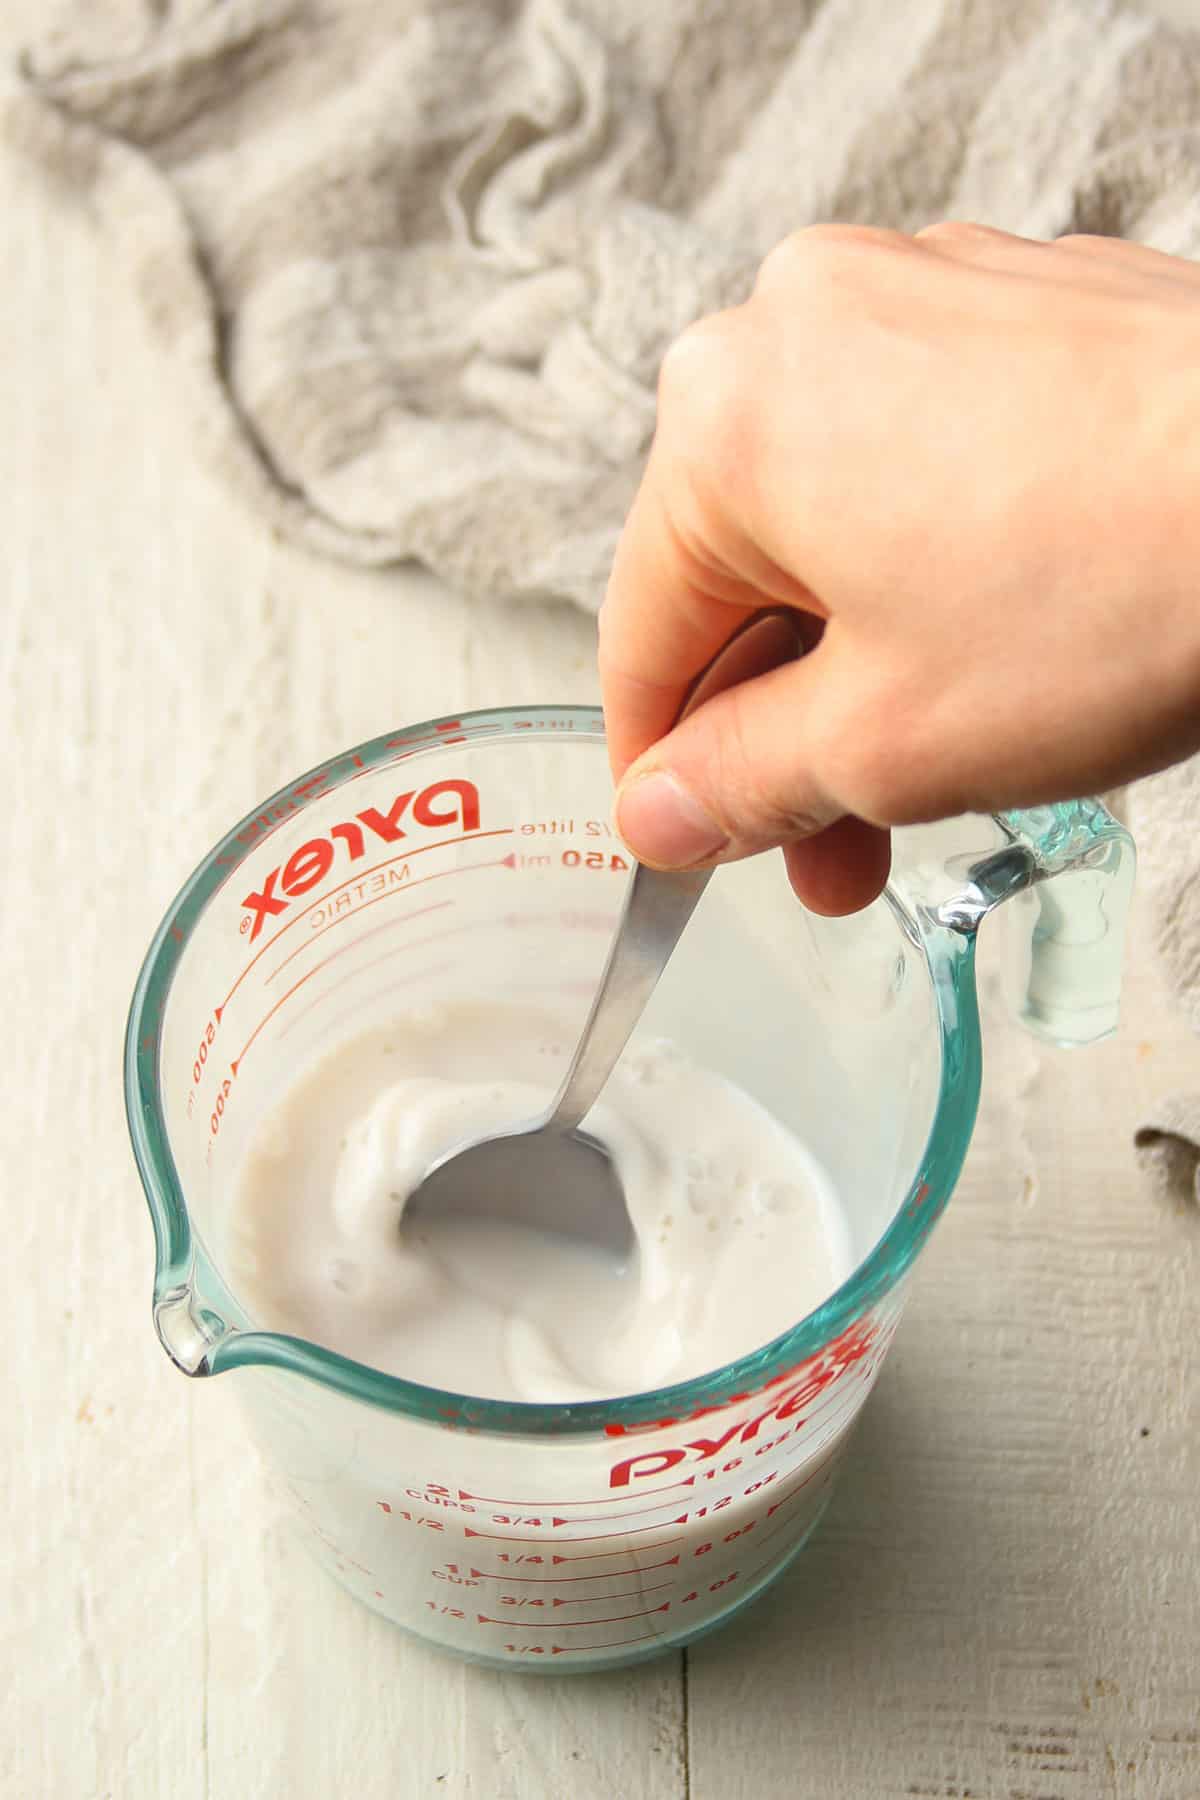
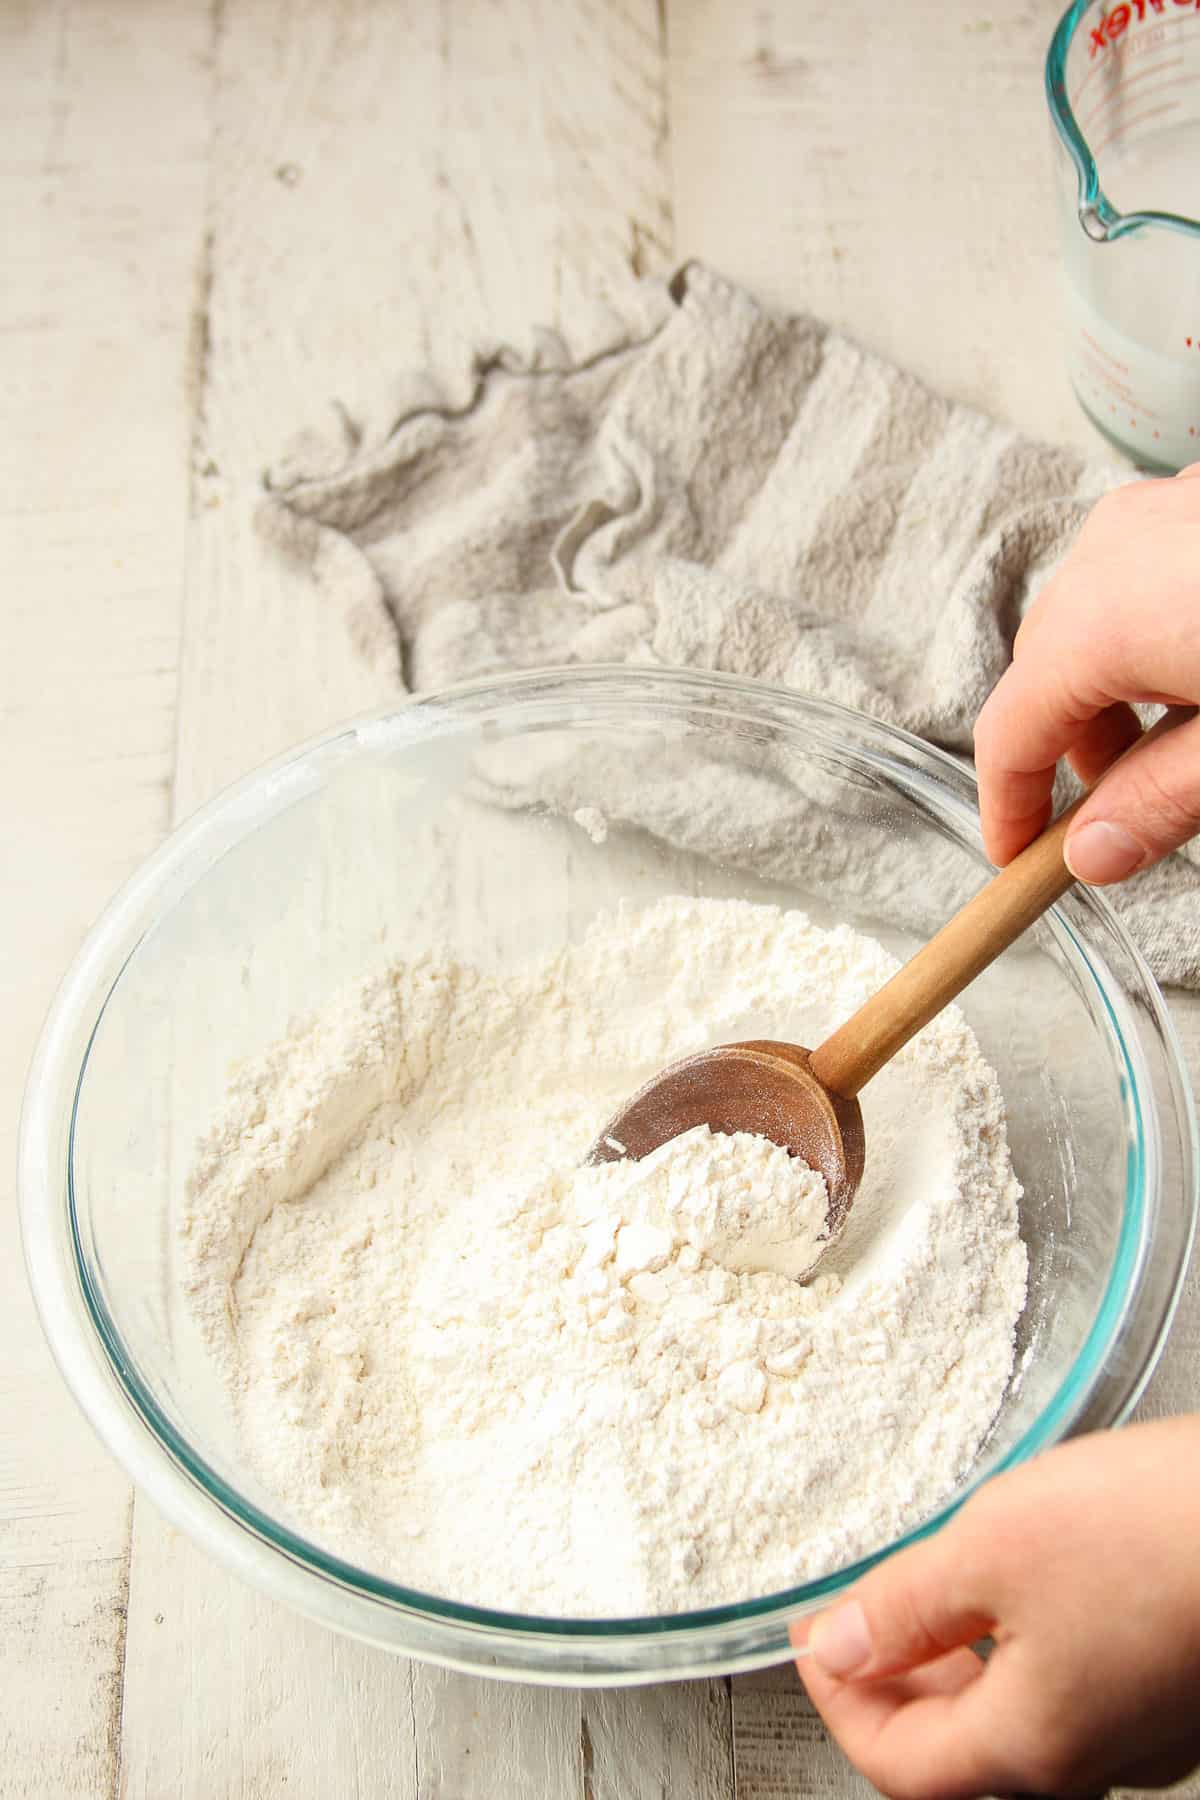
Non-dairy milk. You can use just about any variety that’s unsweetened and unflavored for this recipe — soy milk, oat milk, almond milk or cashew milk would all be great choices. Full-fat coconut milk in a can is the only variety to avoid here. For guidance, read my guide to dairy-free milks. Apple cider vinegar. This is for making our vegan buttermilk. You can substitute with another type of vinegar if needed. Refer to my guide to apple cider vinegar substitutes to select the best option. Flour. The recipe calls for all-purpose wheat flour. Substitute with any other variety at your own risk! Baking powder. Baking soda. Organic sugar. Using sugar that’s organic will keep the recipe vegan. Salt. Vegan butter. You should be able to find this near the regular butter in your store’s refrigerated section. Look for brands like Miyoko’s and Earth Balance.
How They’re Made
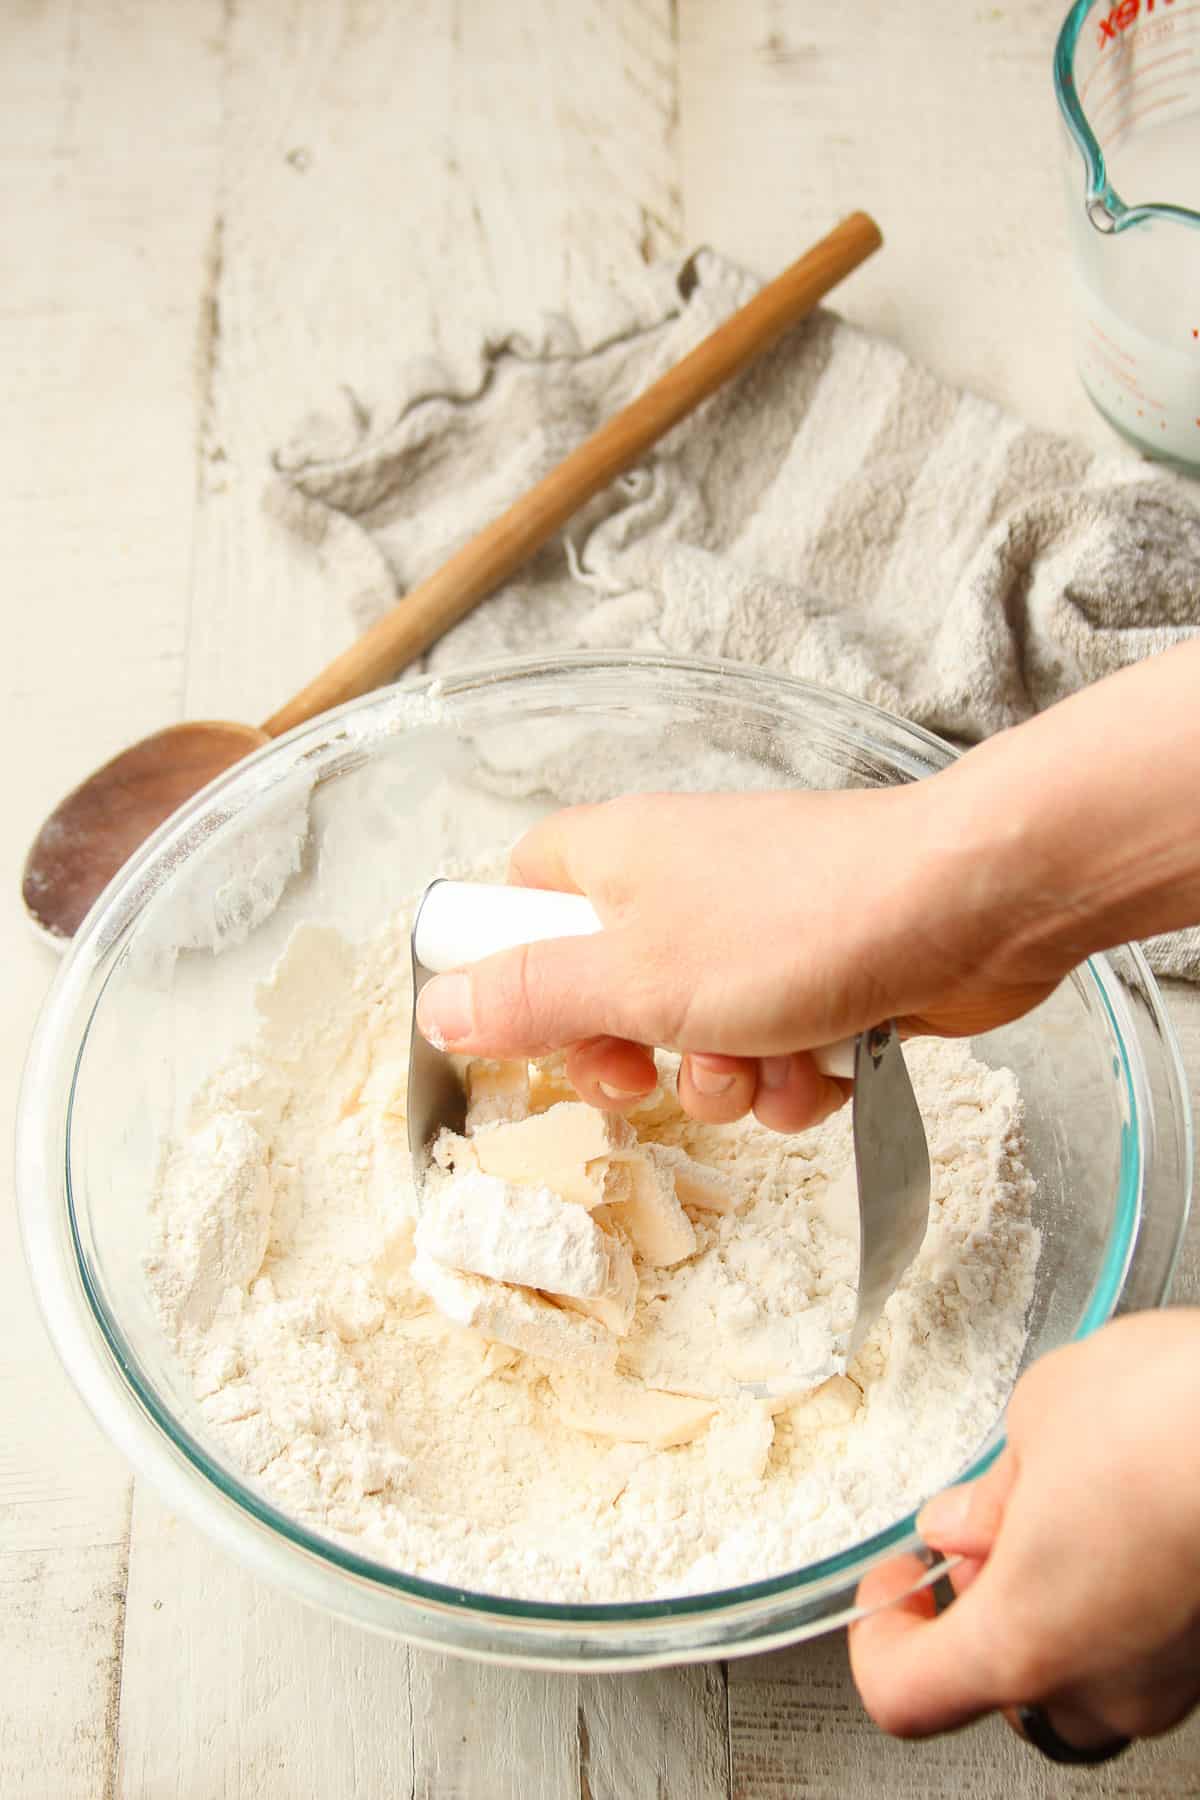
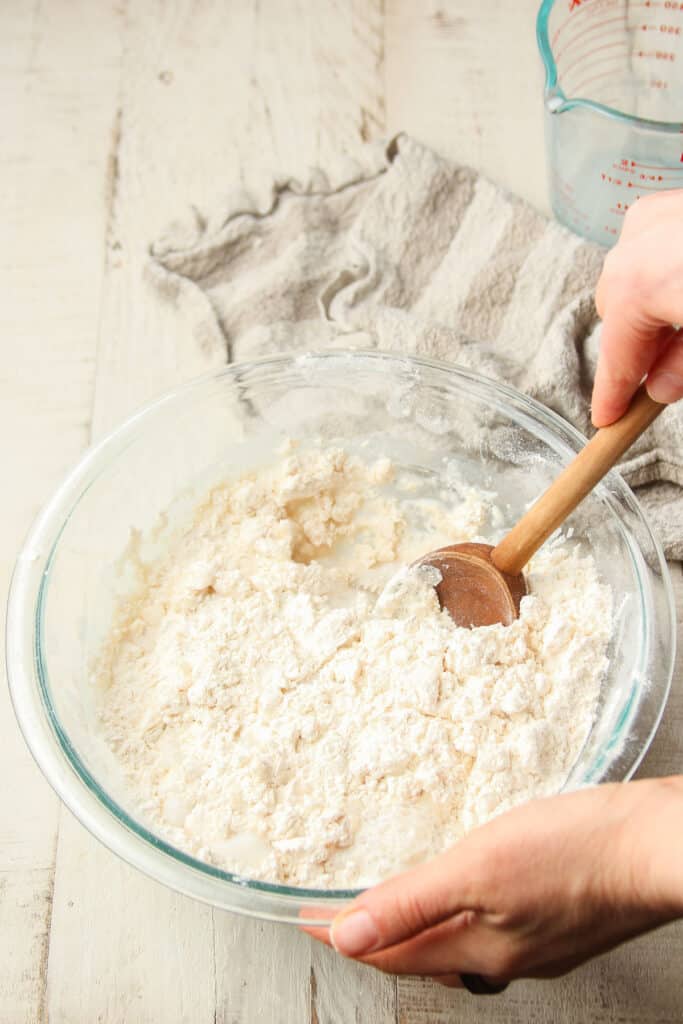
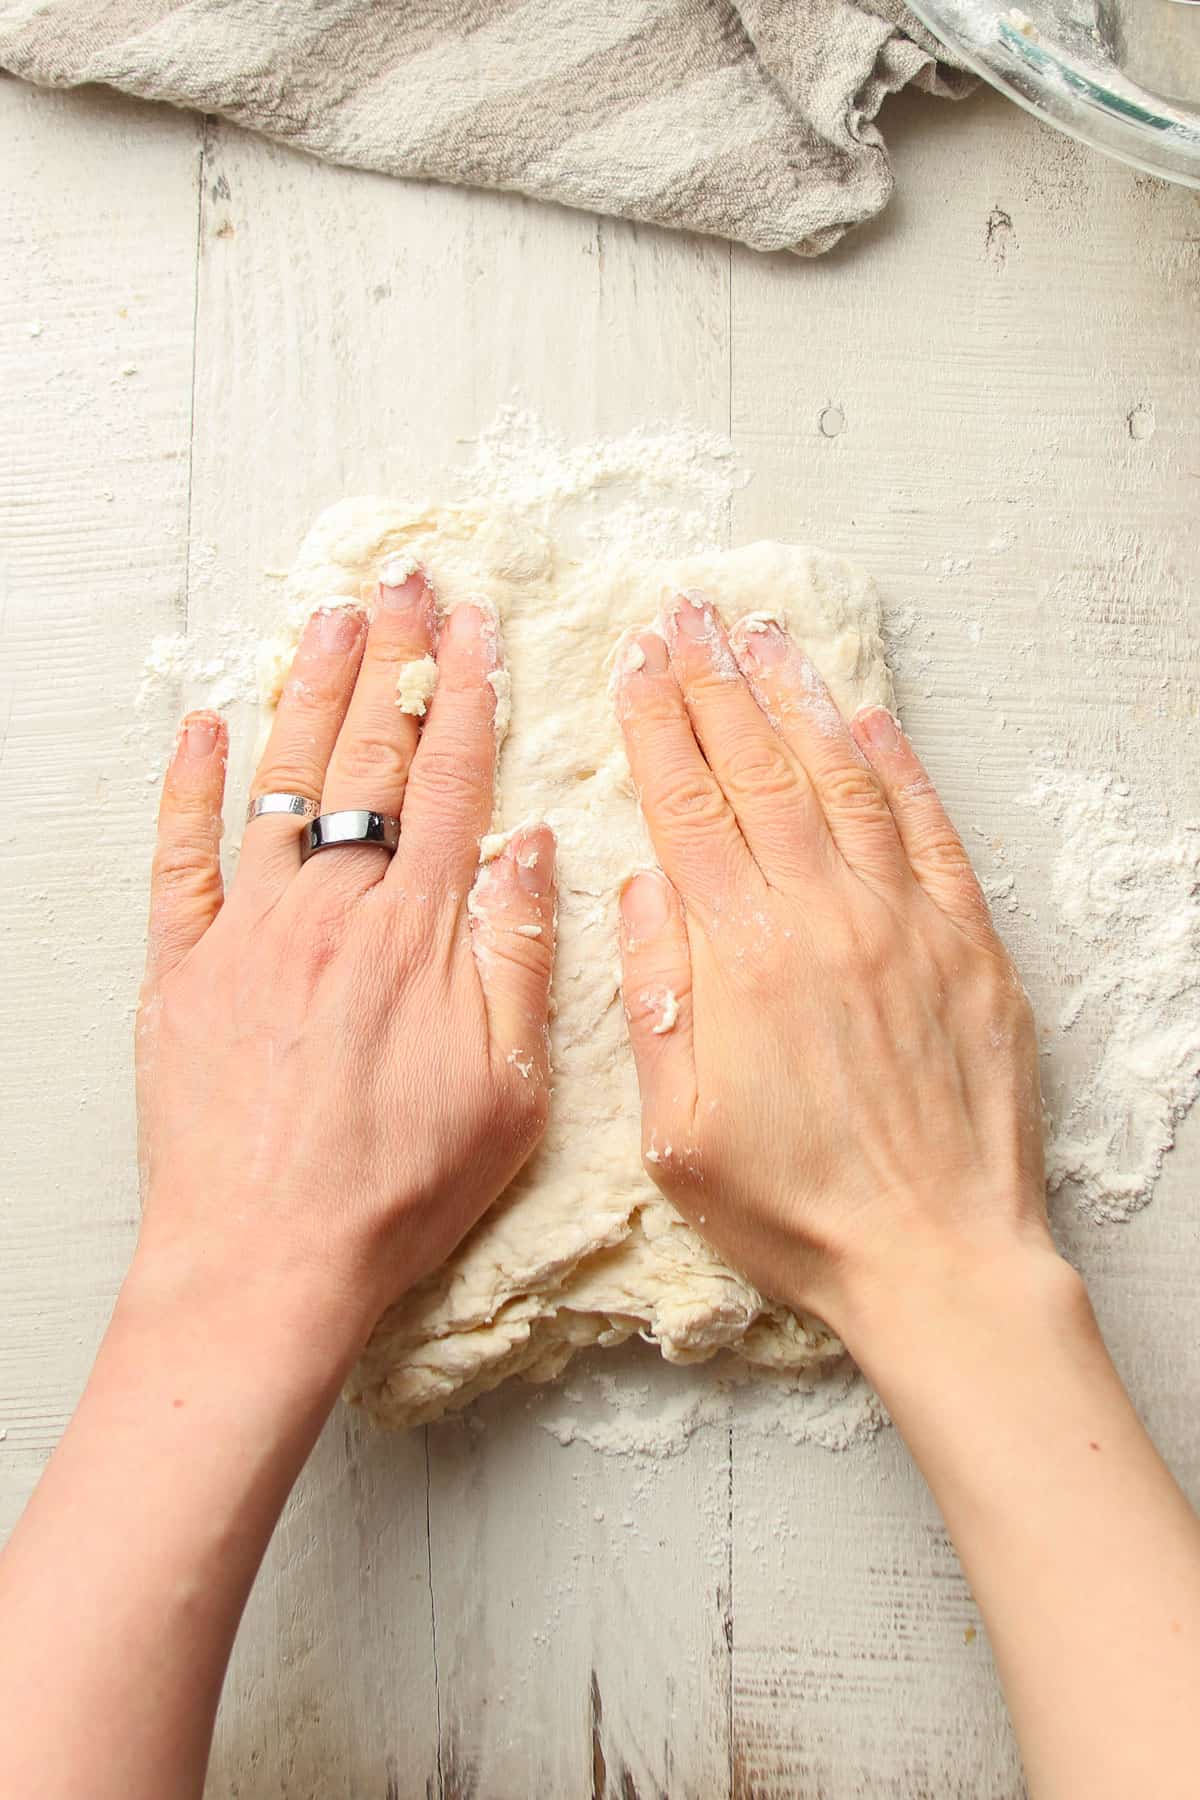
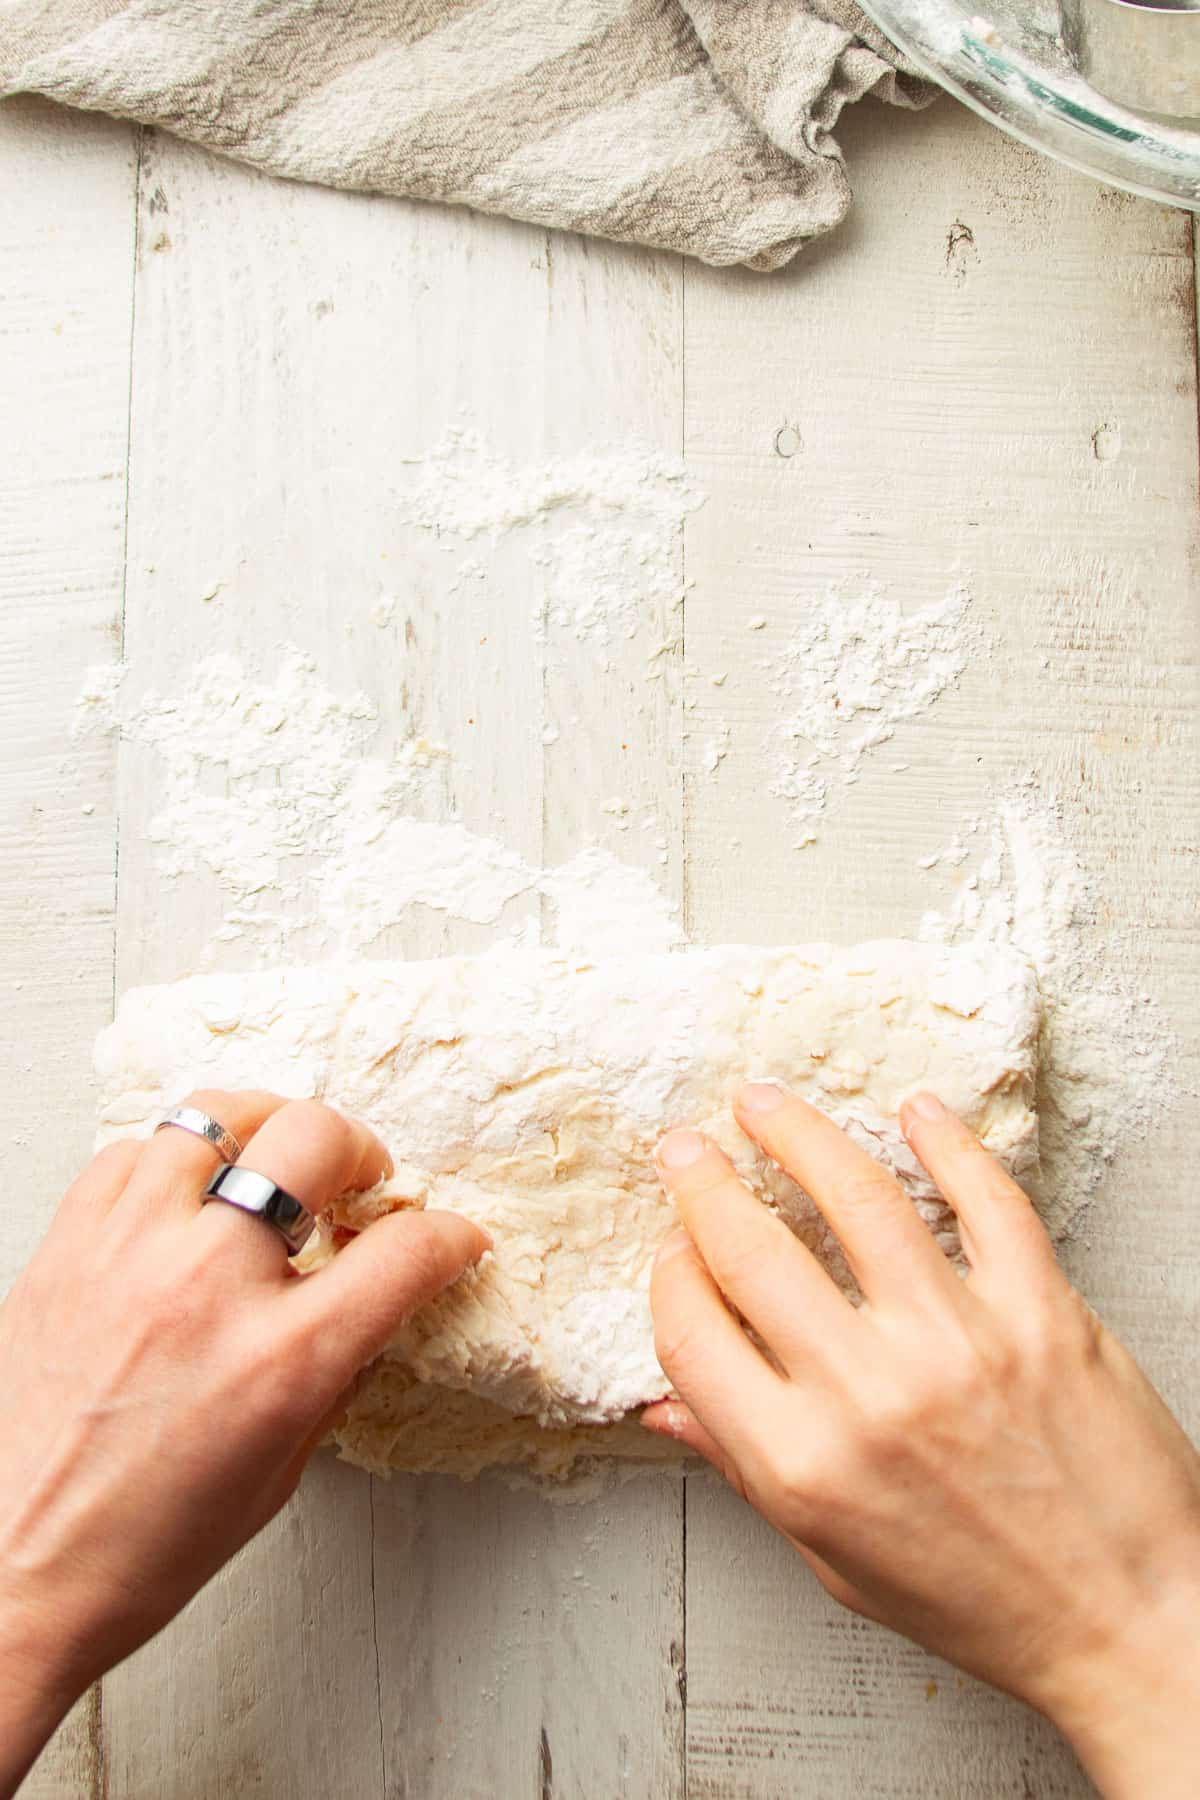
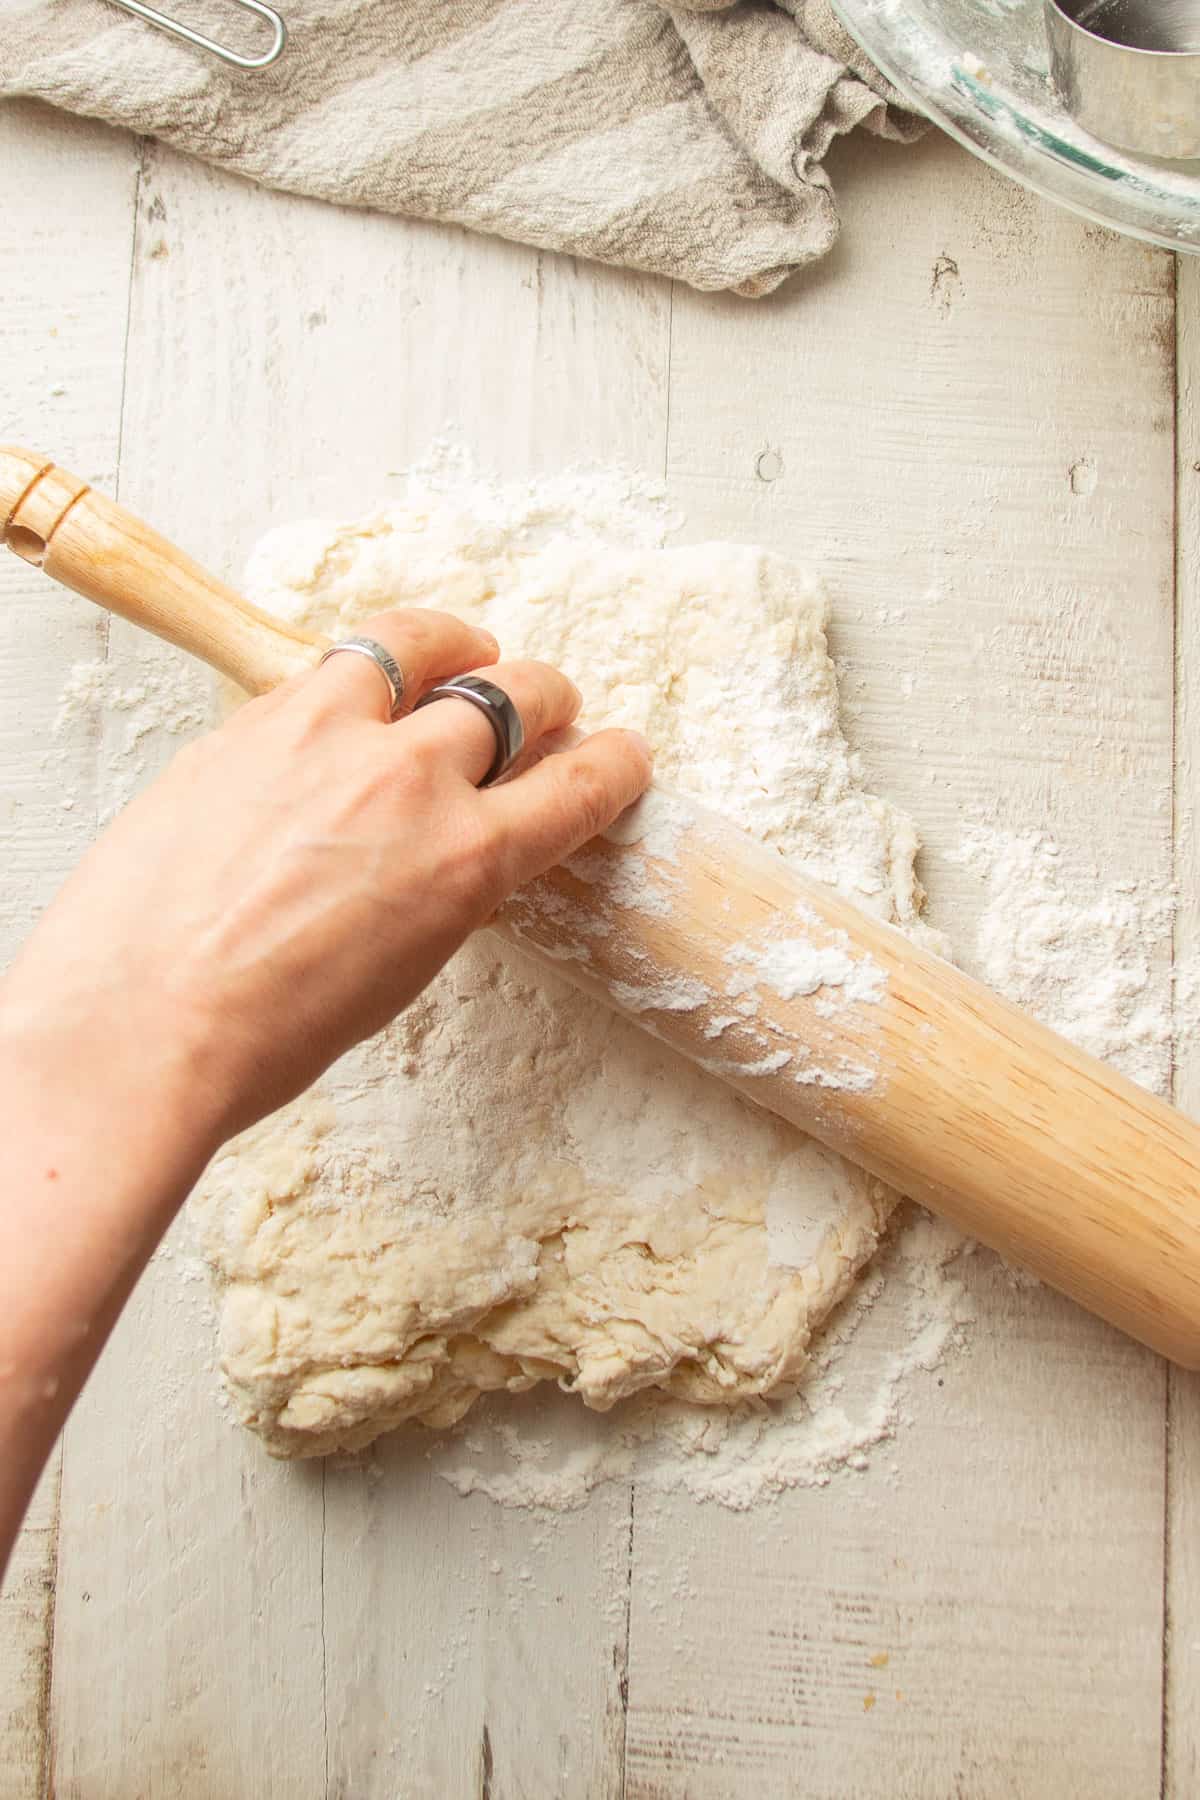
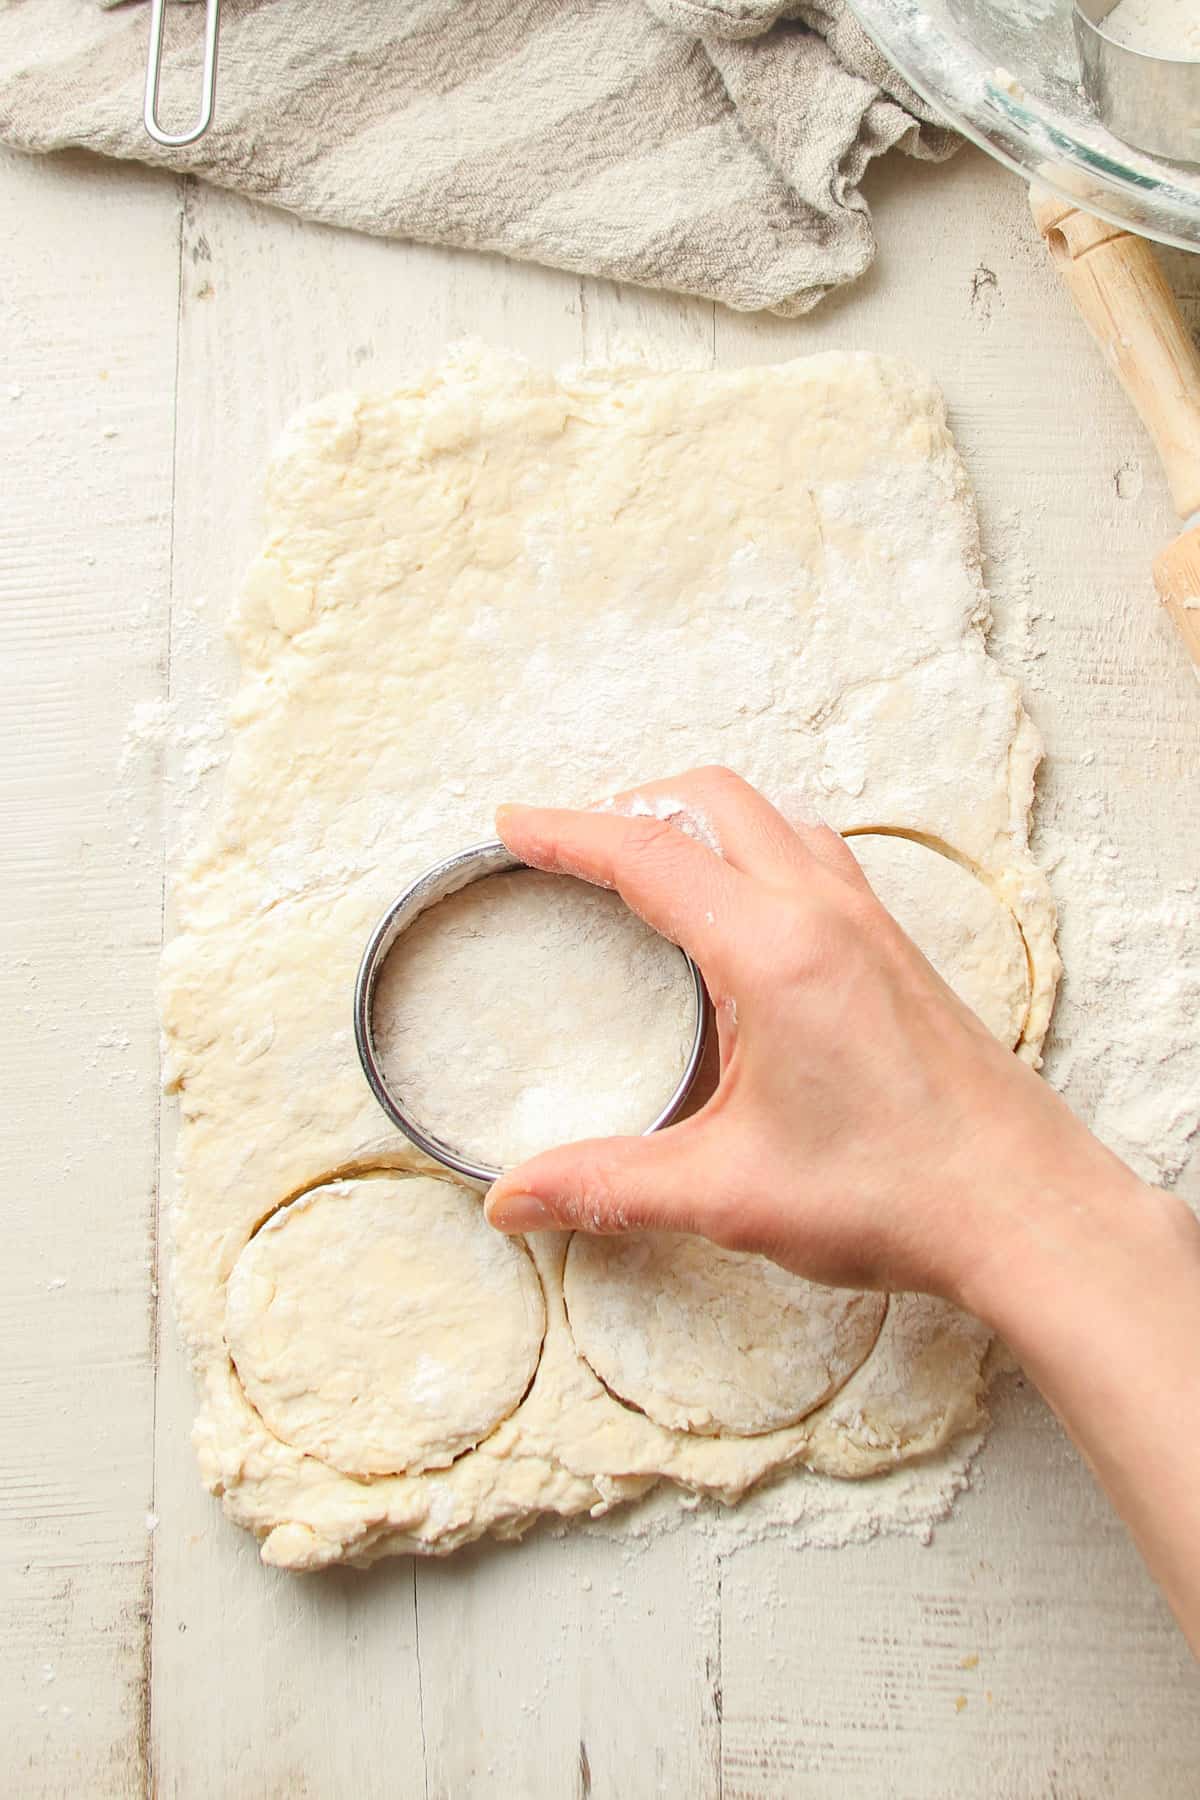
The following is a detailed photo tutorial on how to make this dish. Scroll all the way down if you’d like to skip right to the recipe! Before getting started, I highly recommend chilling your milk and sticking your butter and mixing bowl (preferably glass or stainless steel) in the freezer to chill. Keeping everything cold is one of the tricks to making perfect, flaky biscuits. Tip: If you don’t have a pastry cutter a round cookie cutter will work, or use a drinking glass as a template and cut your dough with a sharp knife. You’ll have some dough left. Some people will tell you not to reroll your excess dough, because biscuits from your second roll won’t be quite as tender and flaky. Personally, I can’t handle the idea of wasting all that dough, so I always reroll it, but do what works for your. Another alternative is to use a knife to cut square biscuits, so there’s no scrap. Keep cutting and rerolling until all the dough is used, but again, be efficient — each batch will be a little less tender than the last.
For the flakiest vegan biscuits, keep your ingredients and tools cold. Chill your mixing bowl, pastry cutter, vegan butter, and non-dairy milk before getting started. Avoid handling the dough with your hands, as this will warm it up quickly. If your dough or ingredients are warming up to where the butter starts to soften, pop everything in the freezer for a few minutes to bring the temperature back down.
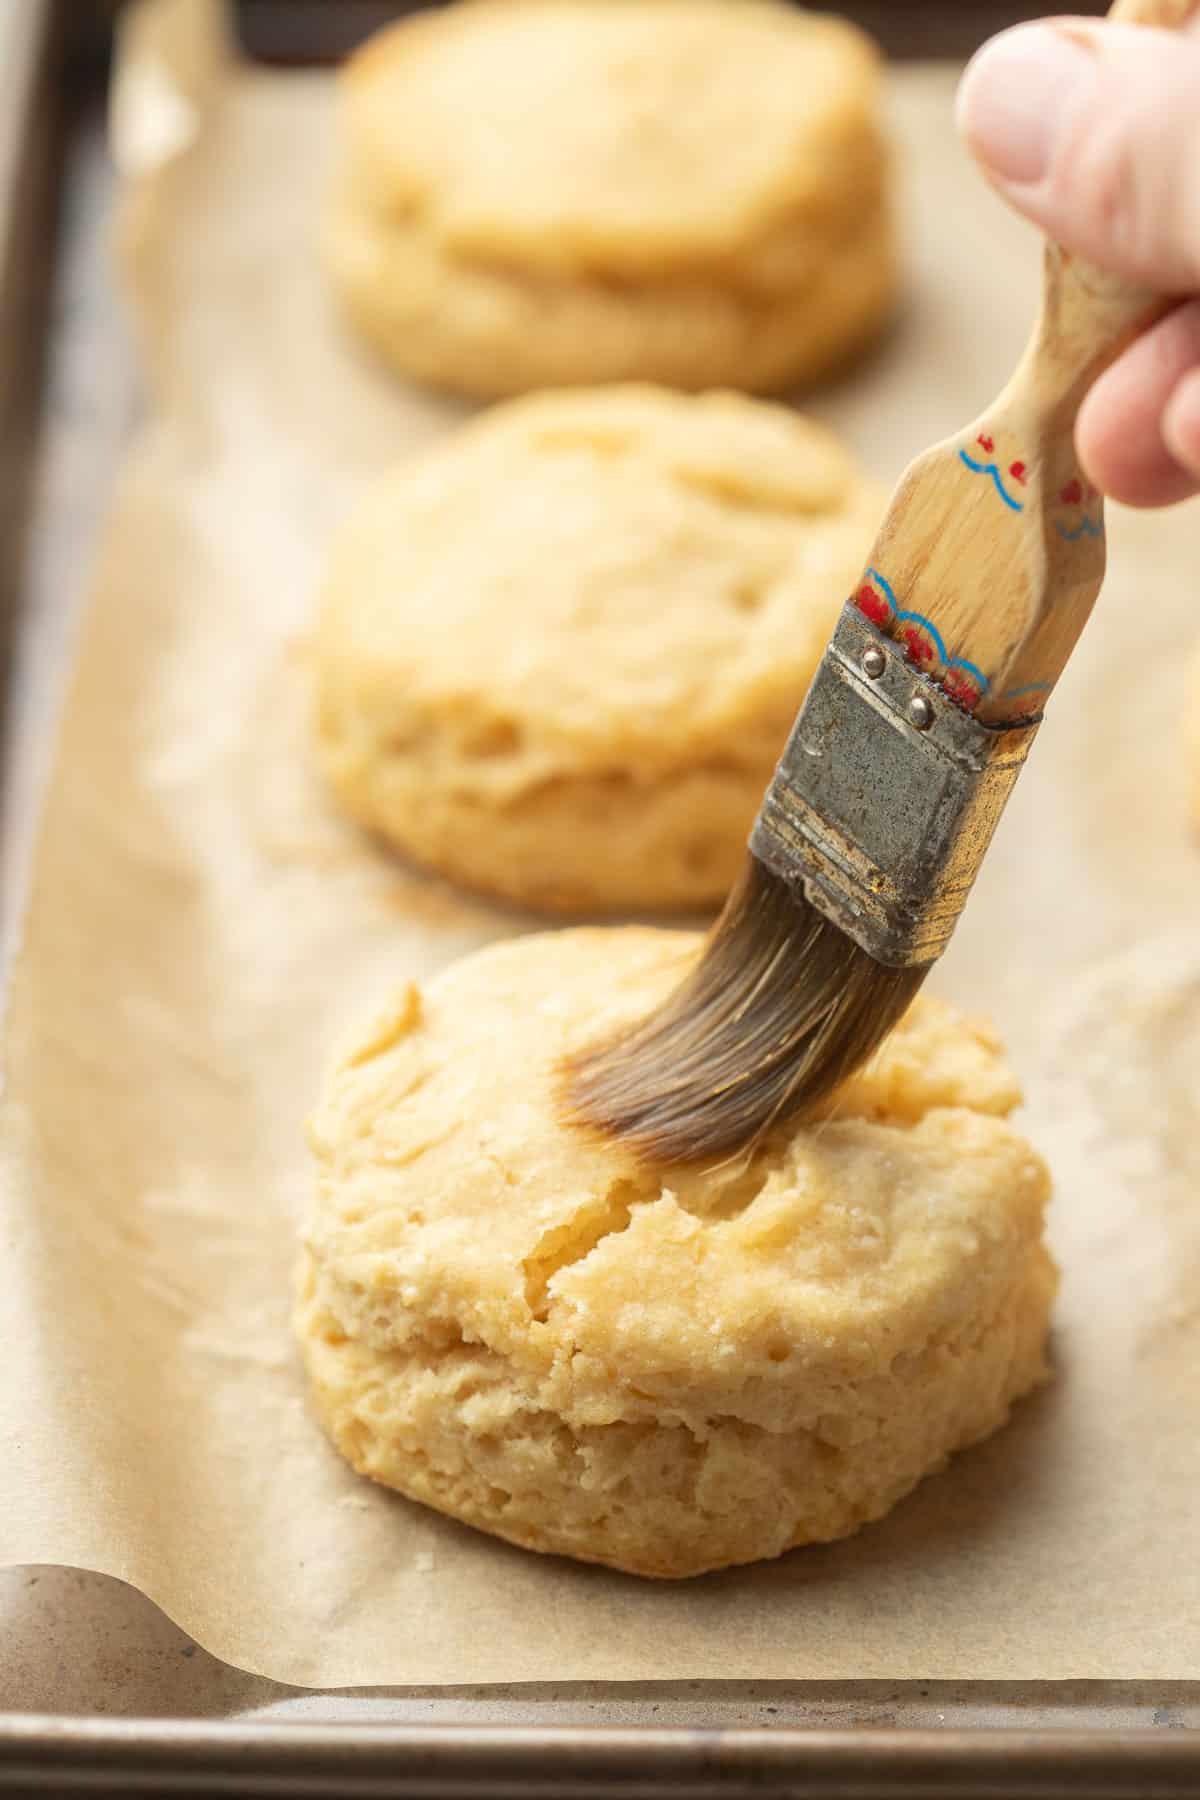
Arrange your cut biscuits on a baking sheet and brush the tops with some non-dairy milk, which will act as a vegan egg wash. Bake the vegan biscuits until they’re golden brown and fluffy. Optional step: For extra flaky biscuits, pop the baking sheet in the freezer and freeze the dough for about 1 hour before baking. Brush your biscuits with some melted vegan butter after taking them out of the oven.
Make-Ahead Option
Your biscuits can be made up to three months in advance and frozen before baking. Simply place the cut out biscuit dough rounds on a parchment paper-lined baking sheet, then place the entire baking sheet in the freezer. Once the biscuits are frozen solid, remove them from the baking sheet and transfer them to a freezer bag or airtight container before placing them back in the fridge. When you’re ready to bake them place your frozen unbaked biscuits back on a parchment paper-lined baking sheet and bake them according to the recipe. You don’t even need to add anything to the bake time!
Leftovers & Storage
These biscuits will keep in an airtight container or sealed bag at room temperature for about 3 days, or in the freezer for 3 months.
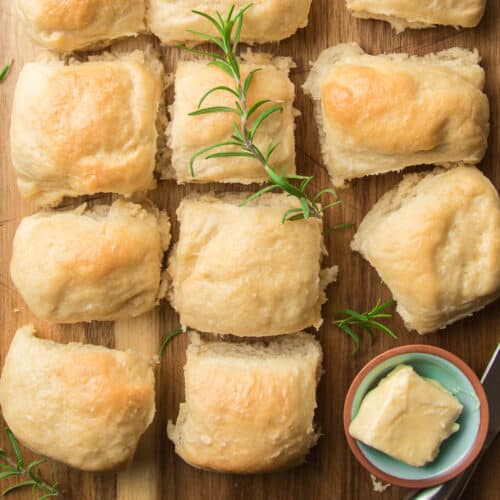
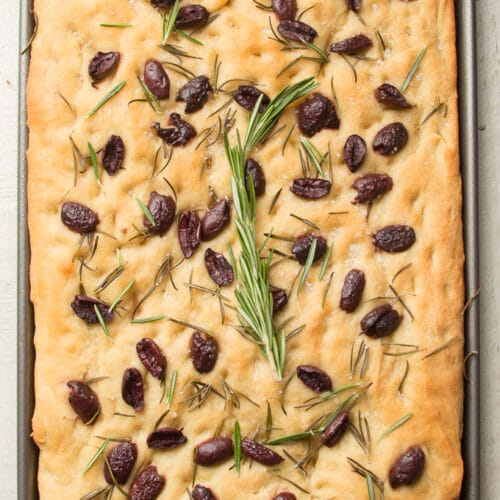
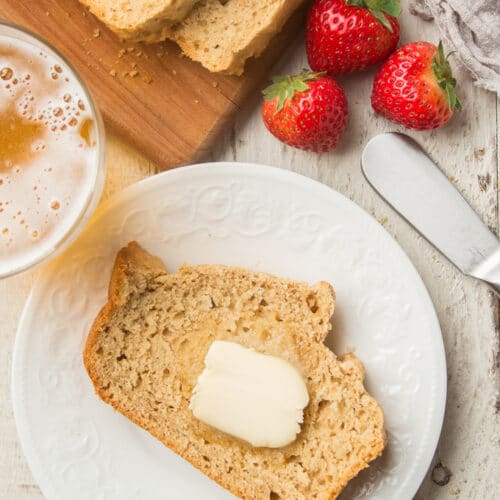
More Vegan Breads
Like this recipe? If so, please stop back and leave me a review and rating below if you try it! Also be sure to follow me on Facebook, Pinterest or Instagram, or subscribe to my newsletter for more recipes like this one!