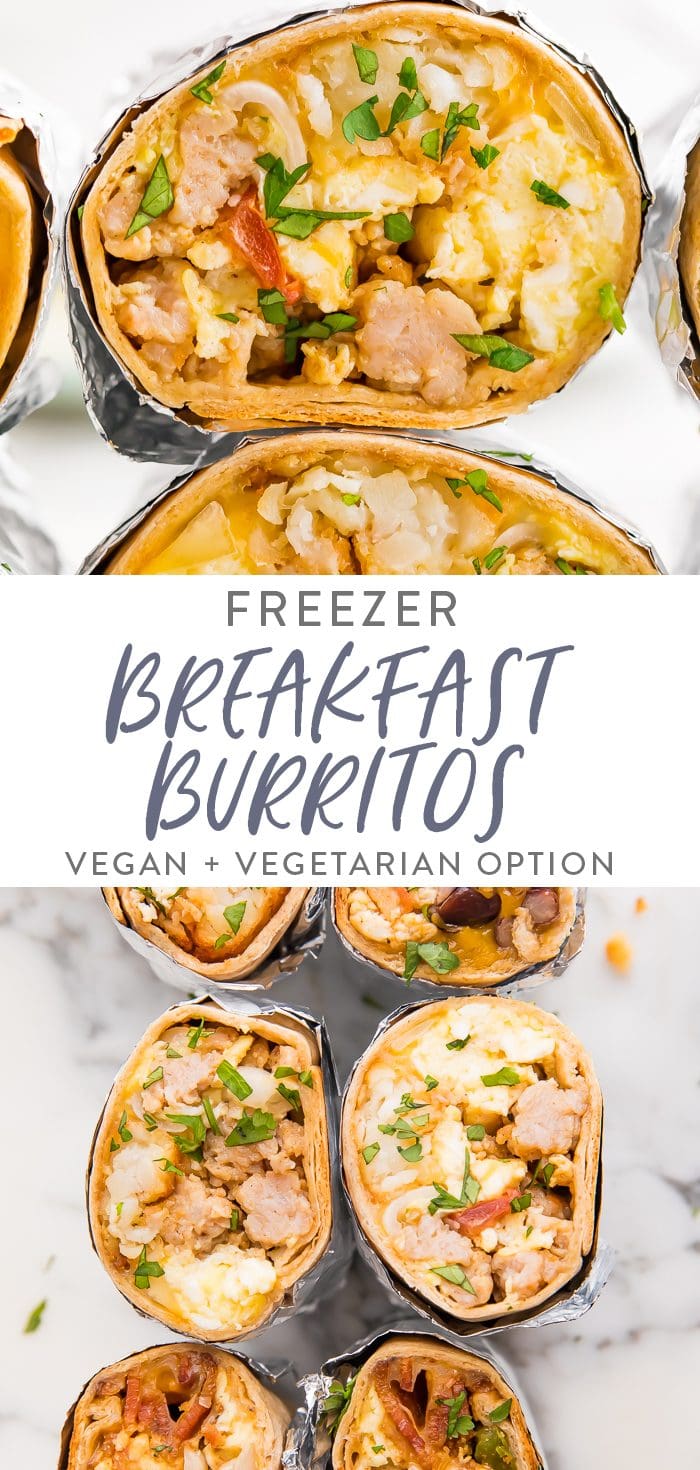
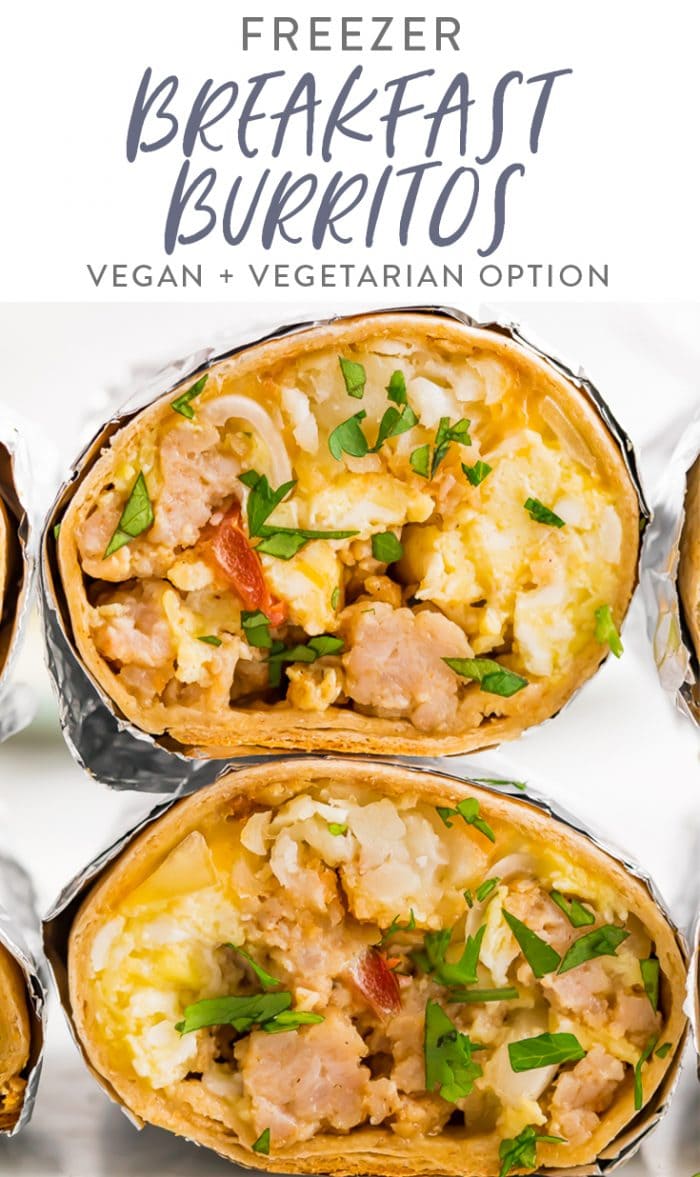
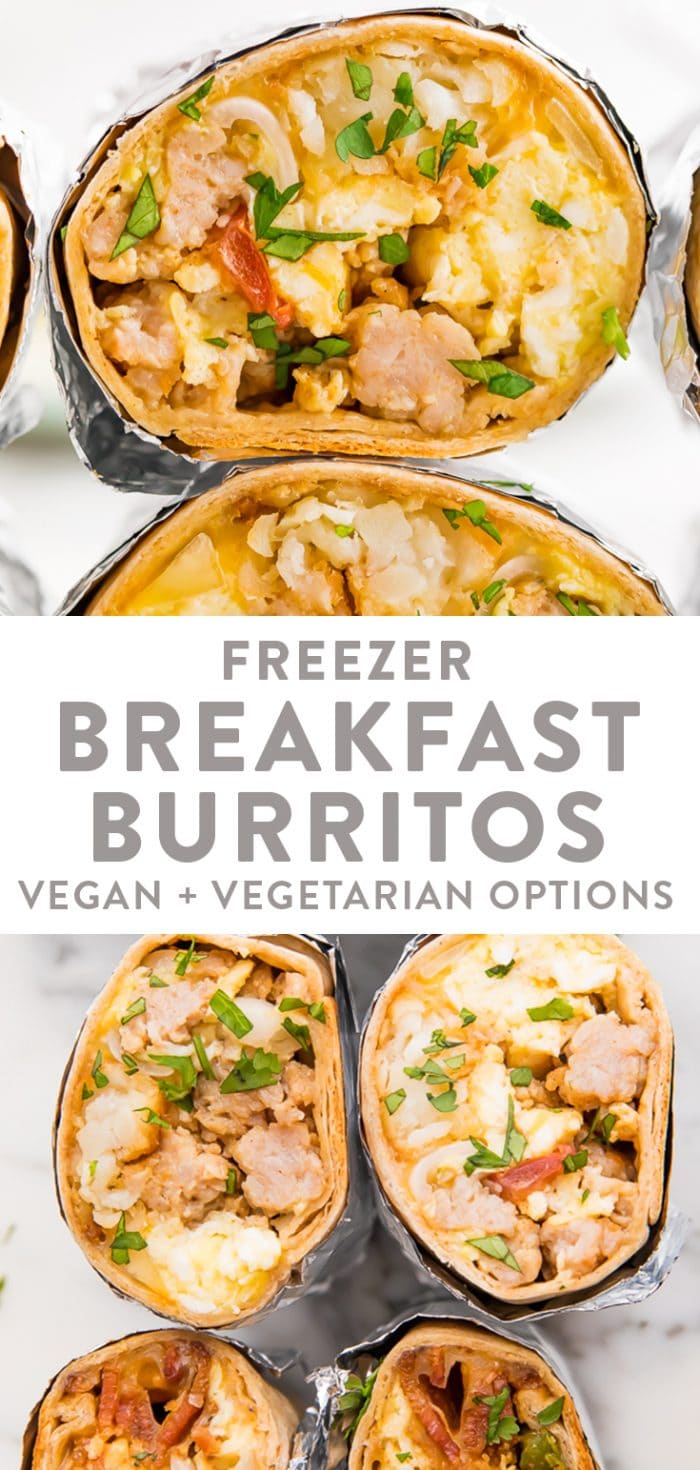
The Secret to Stress-Free Mornings
Let’s be real for a moment. For most people, the morning is the most hectic time of the day. Whether you’re trying to get your kiddos off to school or you’re guilty of hitting the snooze one too many times, there never seems to be enough time. And, if you’re like us, the first thing out the window when the morning gets away from? That glorious, nutritious, fit-to-feed-royalty breakfast spread you were planning.Enter these life-saving Freezer Breakfast Burritos! There’s something magical about breakfast burritos. I mean, having all your favorite breakfast foods perfectly wrapped up together into that perfect bite – what’s not to love? These are so easy to put together, y’all! You can make a burrito just for yourself, or to feed a crowd. All the ingredients scale well! Find yourself in a hurry? You can also wrap these up in parchment paper or aluminum foil and take them on the go!And of course, you can totally make a bunch at one time and then go ahead and freeze them. Total life-saver! Need a quick bite to eat for when the kids come home from school and are “just sooo hungry”? Bam – whip a breakfast burrito out of the freezer.
Why You’ll Love These Burritos
They’re…
…easy to make.…freezer-friendly.…kid-approved.…perfect for meal-prepping, pregnant or not.…easy to adjust for a variety of dietary needs.
Ideal for Postpartum Meal Prepping!
This breakfast burrito recipe is actually also ideal for pregnancy and postpartum meal prepping! I filled up my freezer all three times I was pregnant, and it was so, so worth it after baby came.Pro Tip: Start EARLY. The last thing you want to do is spend an entire day in the kitchen making freezer meals when you’re a gajillion weeks pregnant. I’m talking late second trimester, lady!
How to Easily Roll a Burrito
Step 1 -3: Fold in the sides of the tortilla over the filling and roll, tucking in the edges as you go. Make sure they are compact. Step 4: Place your burrito seam side down on a baking tray and bake at 400º F for about 12 minutes, then let cool. Wrap your burrito in aluminum foil, place it in a freezer bag and freeze.
Chef’s Tips
If you store your tortillas in the fridge, bring them to room temperature before assembling your burritos.To prevent a soggy tortilla, you should always add the grated cheese first — it helps separate the moist eggs from the tortilla.Let the burritos cool down completely before freezing them. Freeze the burritos in a single layer before transferring them to longer-term storage in a zip-top freezer bag.
Freezer Burrito Variations
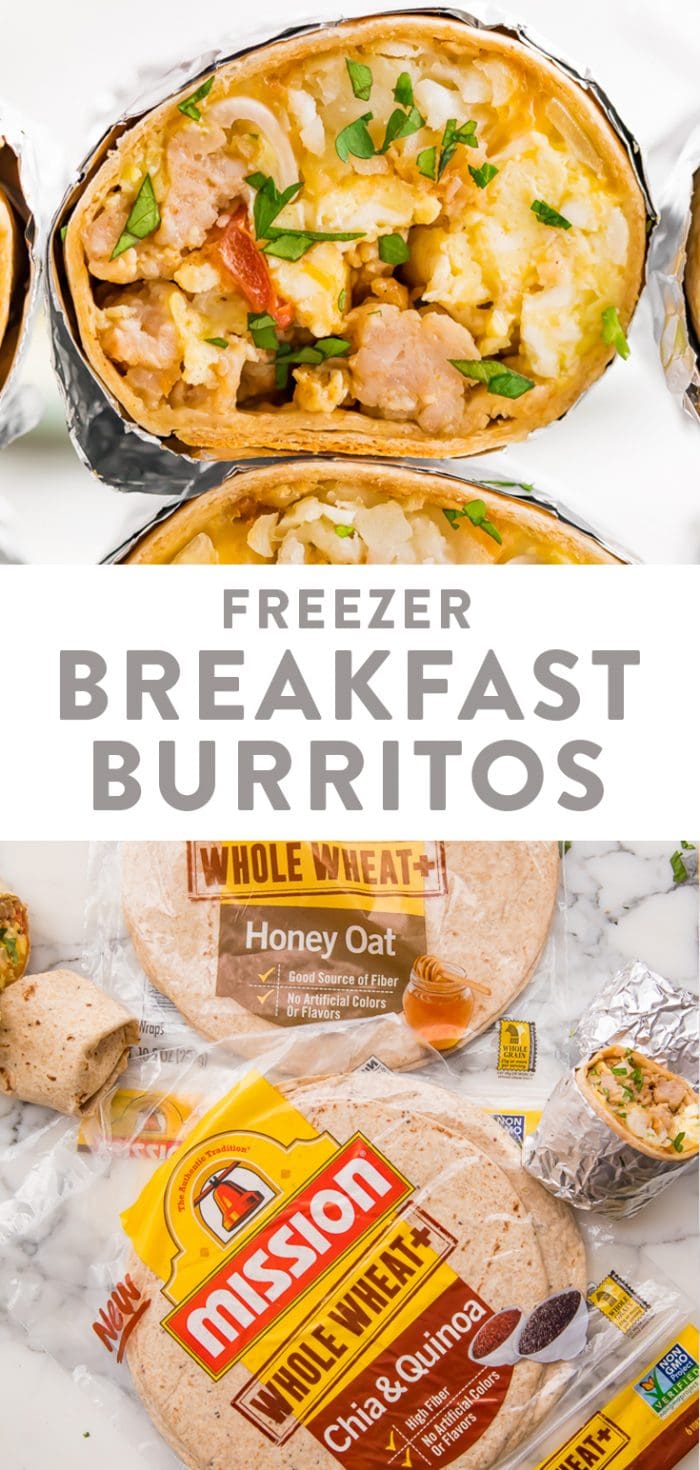
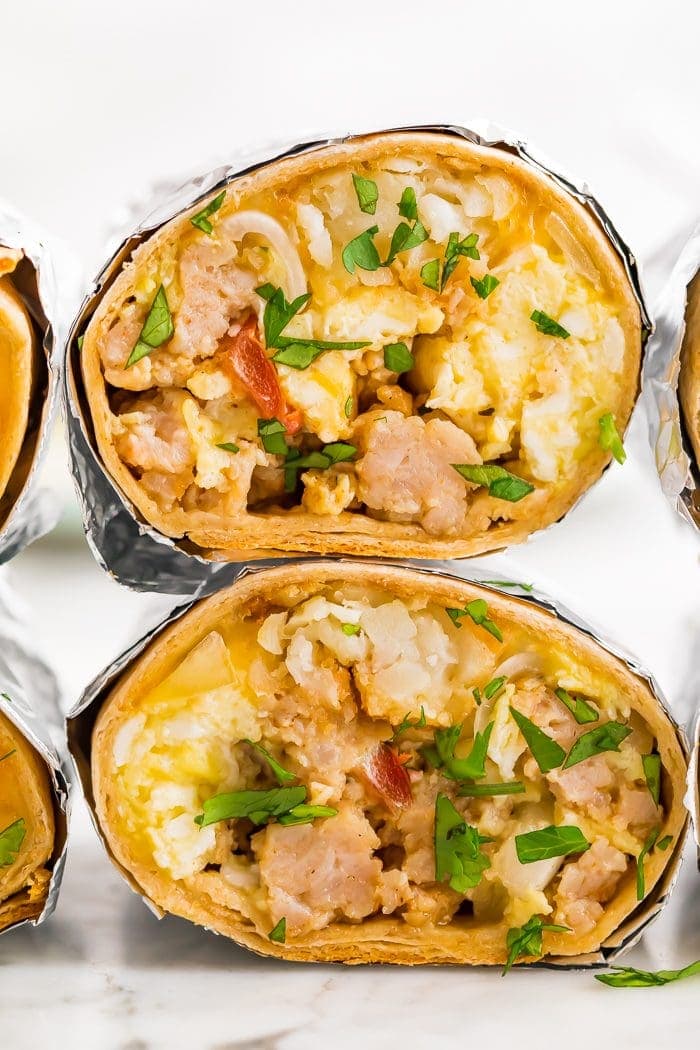
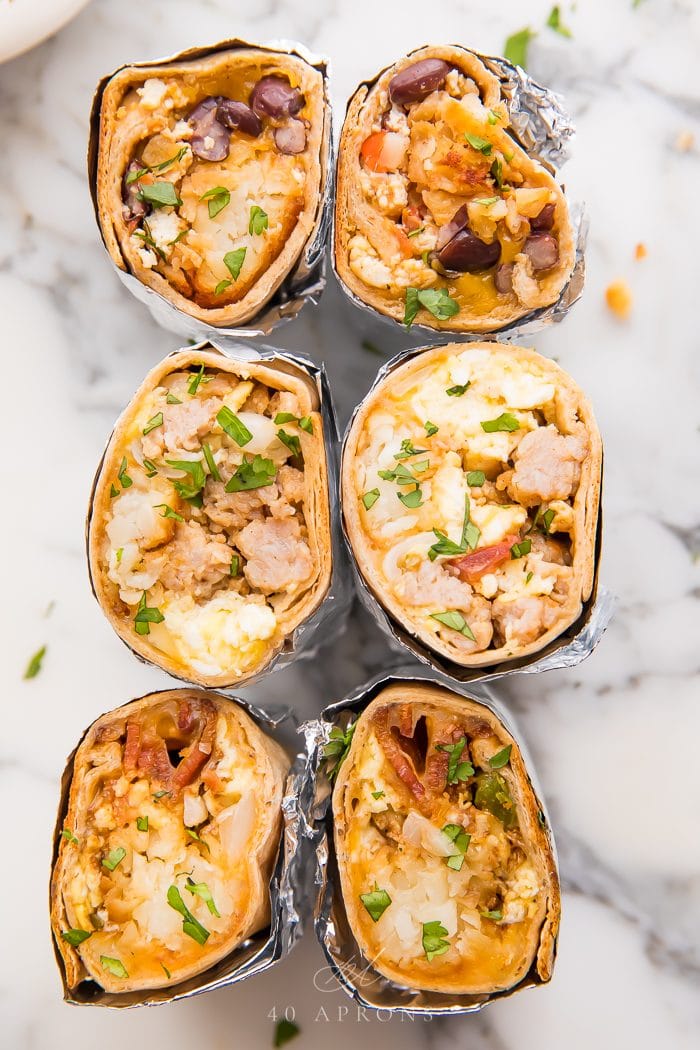
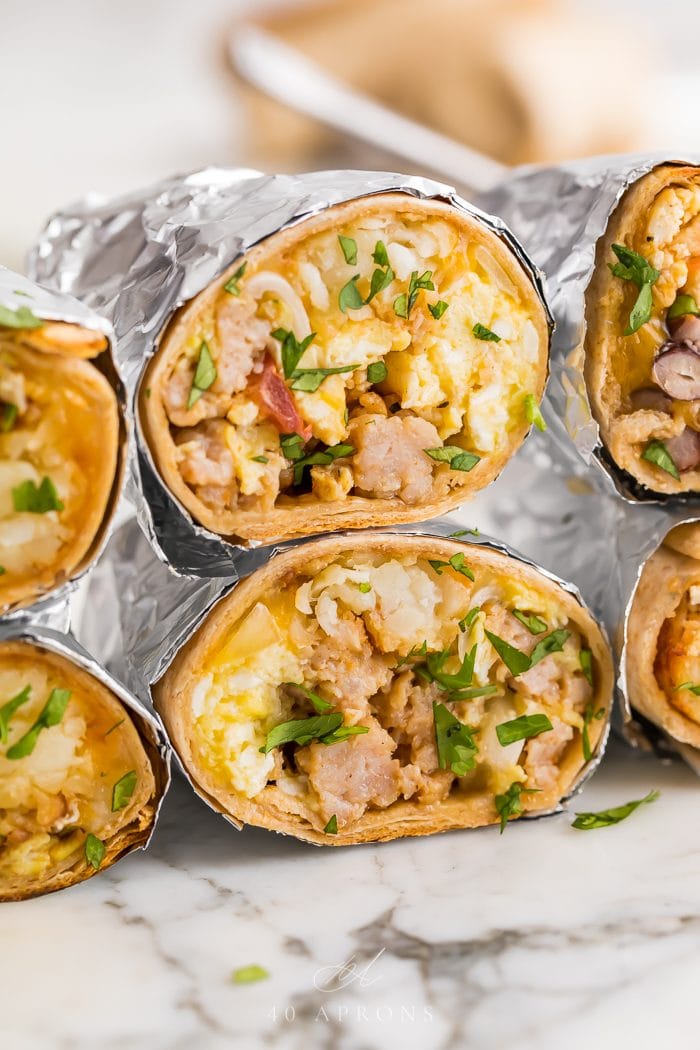
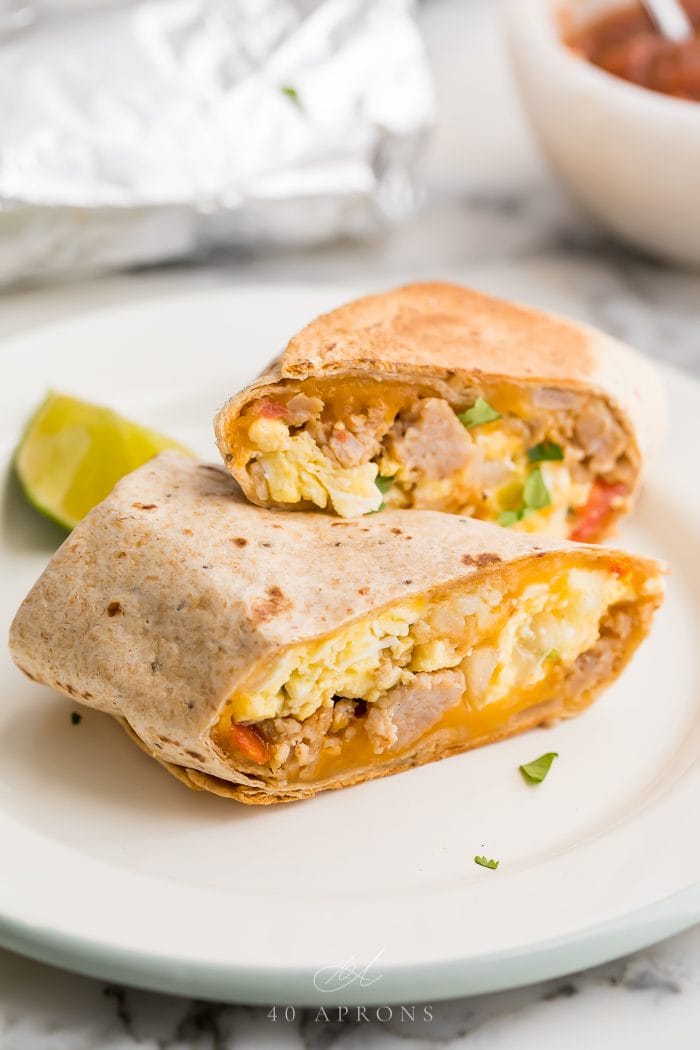
These are just my favorite fillings, but one of the very best things about freezer breakfast burritos is how VERSATILE they are! Seriously, you can load them up with anything and everything you like, and have a different breakfast burrito every day. I’m talking chorizo, carnitas, ham, fried potatoes, baked squash, chickpeas, avocado, sautéed onions, roasted red bell peppers…the list is endless. In that same vein, you can make these macro-friendly fairly easily. Skip the potatoes and use low-carb tortillas. Double up on eggs and meat or beans for more protein. Use both bacon and sausage (maybe even toss in some ham!) for a Meat Lovers’ breakfast burrito. Seriously, make this one your own in whatever way you need to!Corn tortillas don’t wrap and freeze as well as flour ones. If you’ve got corn tortillas you need to use up, try my Breakfast Taco Casserole.
How Long Do Breakfast Burritos Last in the Freezer?
Up to 3 months, as long as you store them well! Wrap each burrito tightly in 1-2 layers aluminum foil, then line them up on a baking sheet and freeze them individually for 1-2 hours. Once they’ve frozen individually, you can transfer them to a sealable freezer bag (like a Ziploc bag) or another freezer-safe, airtight container. If you’re using a bag, press or squeeze out as much air as possible before you seal it up completely. Then just toss the burritos in the freezer and you’re good to go!Pro Tip: Make sure you label the bag or container with the date you made the burritos and what’s in them, especially if you’re making multiple different fillings. Future-you will thank you.
How Do You Reheat Them?
From Frozen
Microwave: Grab a burrito straight from the freezer and remove the aluminum foil. Cover the burrito with a damp paper towel (that way the tortilla will stay soft!) and place it on a microwave-safe plate. Microwave the covered burrito for 4 to 5 minutes depending on your microwave, but flip it over halfway through the cook-time to ensure it heats evenly all the way through. Keep it covered with a damp paper towel the whole time or the tortilla may dry out a little.Note – cook times will vary depending on the strength and age of your microwave, so keep an eye on the burrito and adjust the time as needed.Oven: Preheat your oven to 375° Fahrenheit. Leave the aluminum foil on this time and take the burrito straight from the freezer to the baking sheet. Pop the baking sheet in the oven and let it bake 20 to 30 minutes, then carefully check if the burrito is heated through. Add time as needed until everything is hot, then serve and enjoy!
From Defrosted
Stovetop: If you’ve got the time, this is my personal favorite method. Defrost the burrito(s) in the fridge overnight, then when you’re ready to eat, heat a large skillet over medium-low heat. Remove the foil and add the burrito straight to the skillet, then cover it with a lid. Let it heat up, covered, until the burrito’s golden on the edges and warmed all the way through.Microwave: Again, defrost the burrito(s) in the fridge overnight. Remove the foil, pop it on a microwave-safe plate, and cover it with a damp paper towel. Microwave it on full power just 2 to 3 minutes, flipping halfway, until it’s warmed-through.
Other Easy Recipes You’ll Love
Easy Peel Boiled EggsCrockpot Breakfast CasseroleThe Most Perfect Avocado OmeletteWhole30 Breakfast Meal PrepInstant Pot Bone BrothSausage & Egg Keto Breakfast Casserole