I’m pretty comfortable making this extreme statement: paneer is the best part of Indian food. And I make a lot of Indian dishes! From my Easy Chana Masala to my Vegetable Korma, to my crazy delicious Restaurant Style Chicken Tikka Masala to my Perfect Naan… I’m a big fan and frequent Indian food cook. Being married to a Pakistani man, it’s a huge compliment when he loves my recipes better than what we get at the local curry houses or – and don’t tell his family – when he says my version is better than an auntie’s! And my homemade paneer? He said it was the best he’d ever had in his life. He actually got kind of mad because there wasn’t any left after his second bowl of saag paneer? If that tells you anything.
Why This Homemade Paneer Is So Good
If you’re wondering why you need to know how to make paneer rather than just uh, how to buy paneer, here’s the deal:
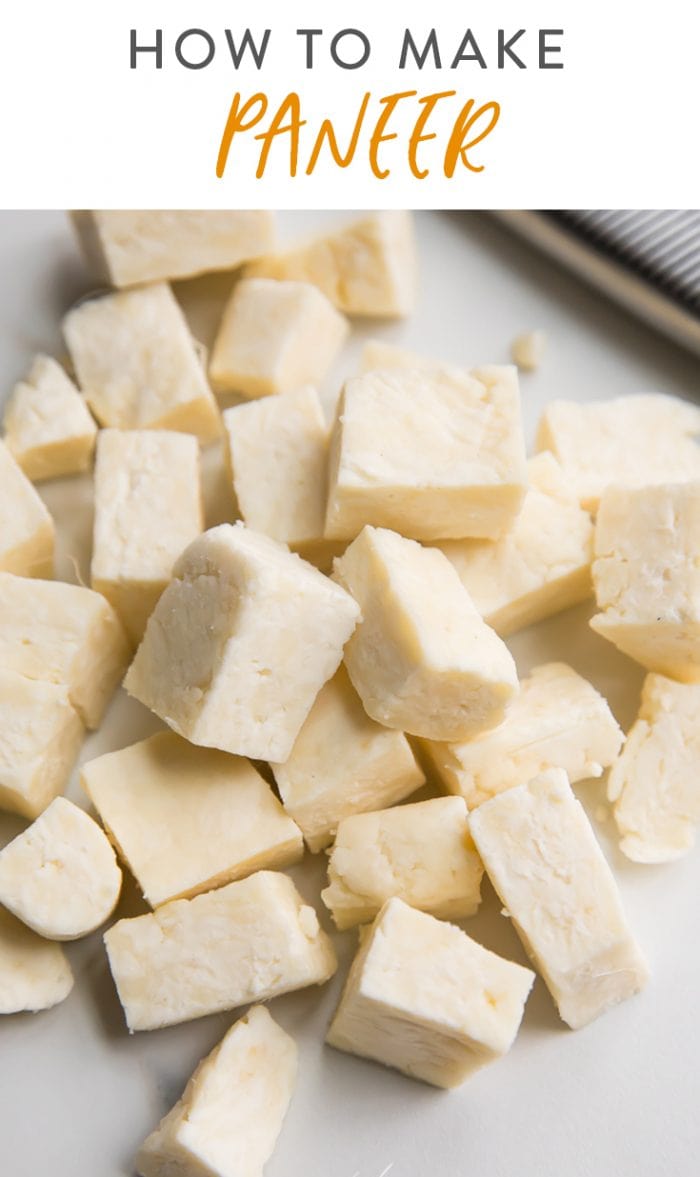
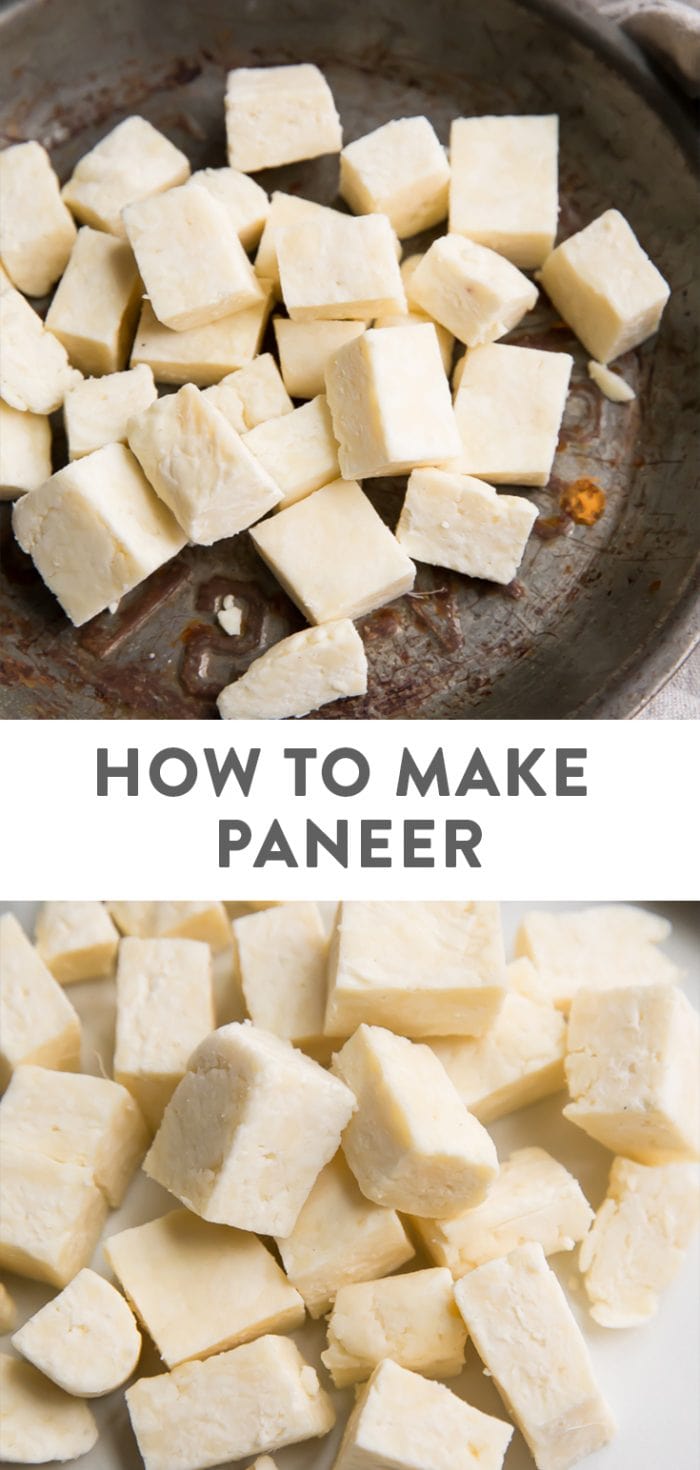
This homemade paneer is the creamiest paneer you’ve ever had. No contest.Learning how to make paneer is super easy! And it comes together in about 40 minutes to 2 hours. It only takes about 15 minutes of active time; the rest of the time is the paneer pressing.The texture is better than what you’ll get at a restaurant or Indian grocery.It’s richer and tastes like melty cheese curds, rather than little hard, dry-ish cubes.This homemade paneer is amazing in vegetarian Indian dishes, like saag paneer.
How to Make Paneer
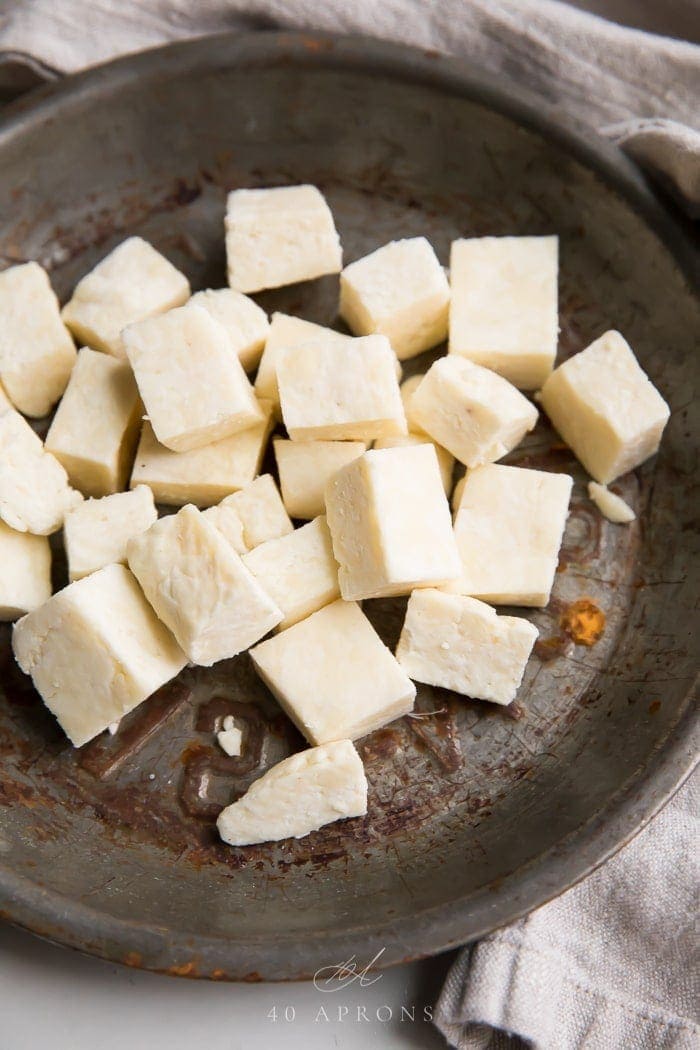
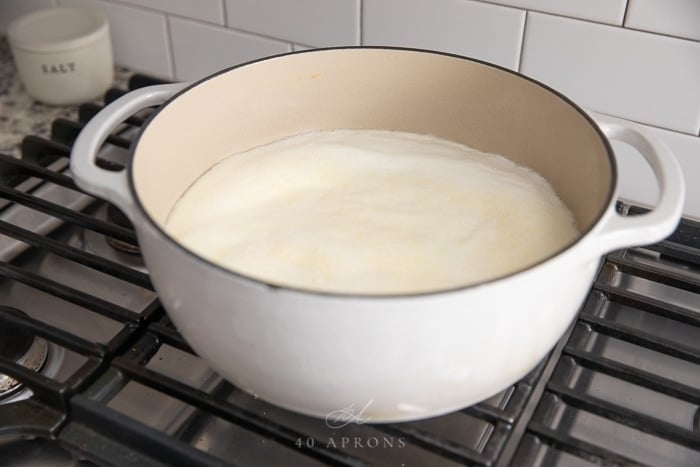
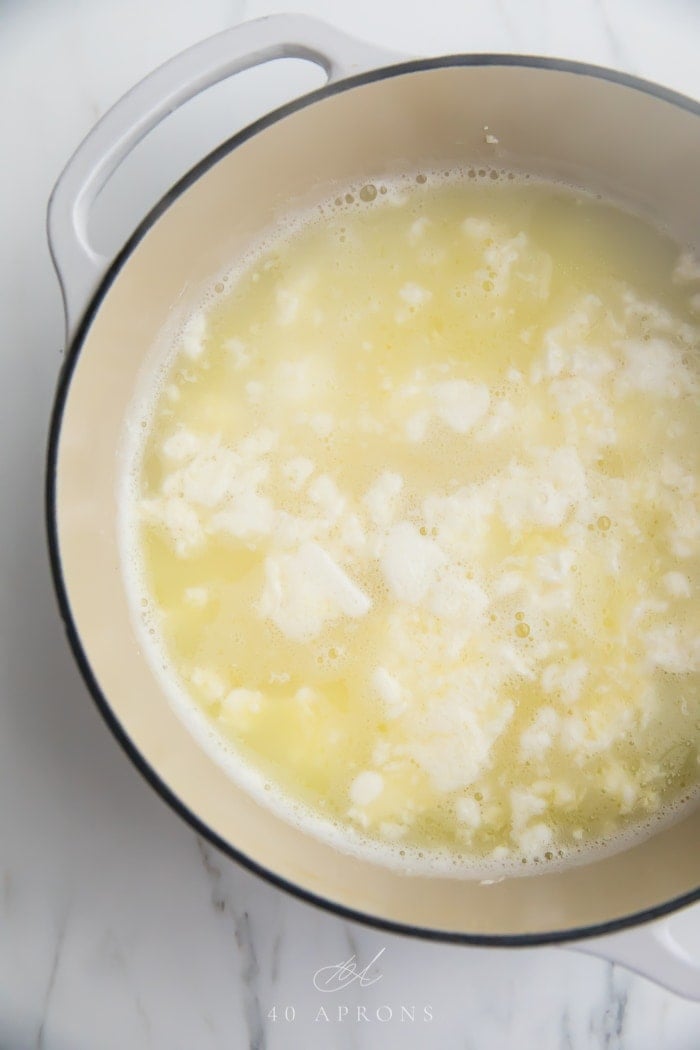
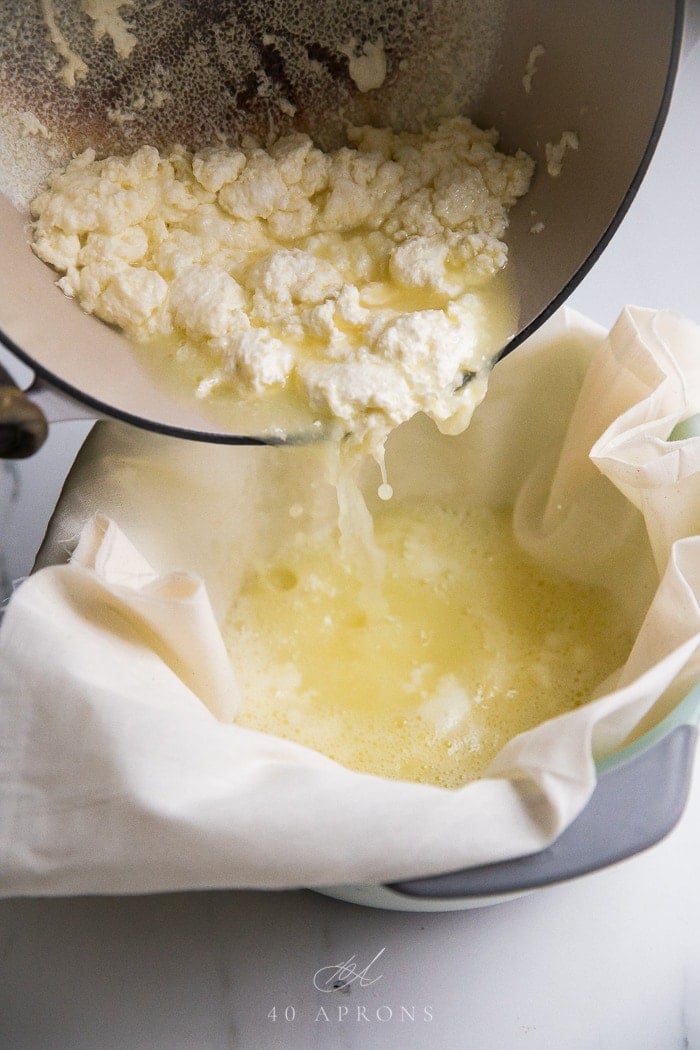
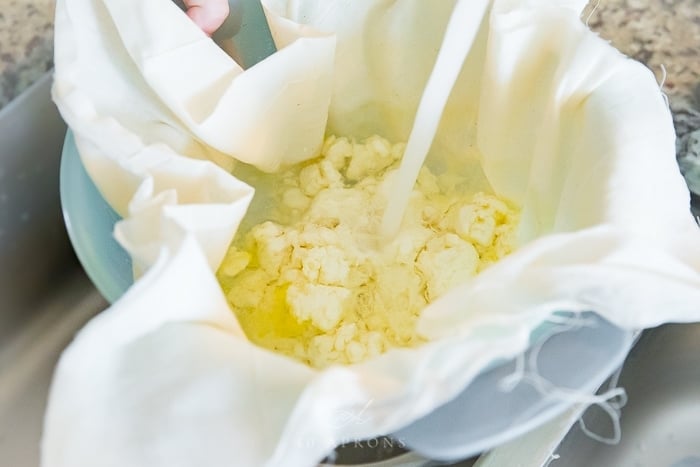
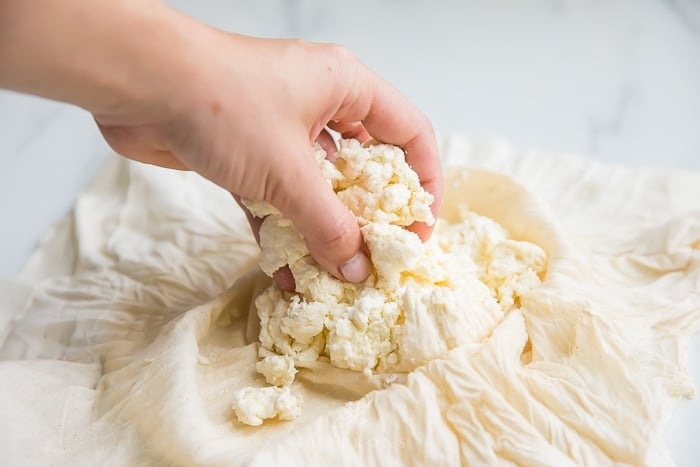
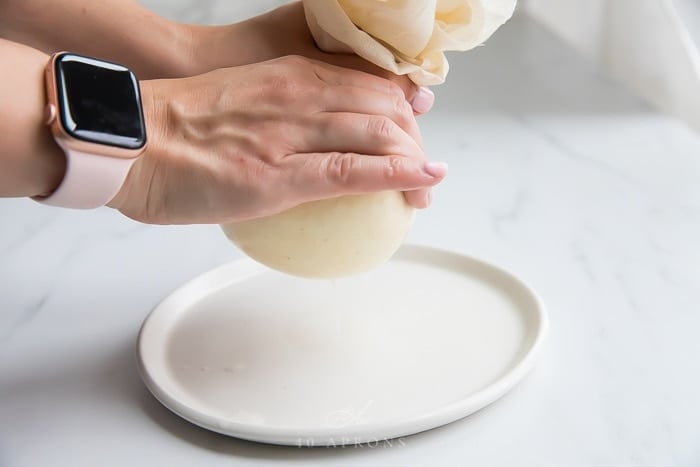
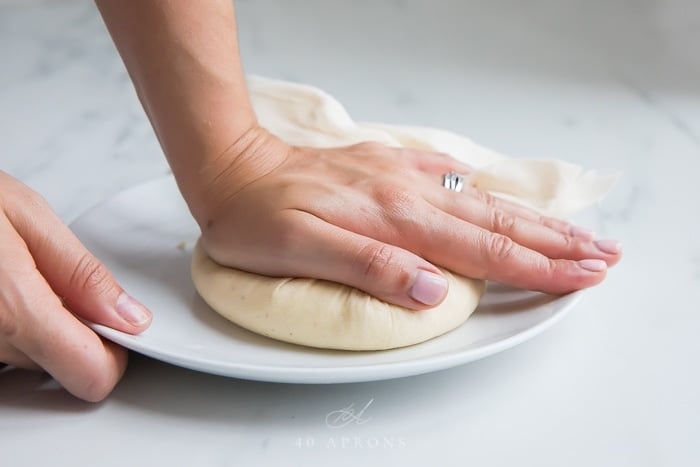
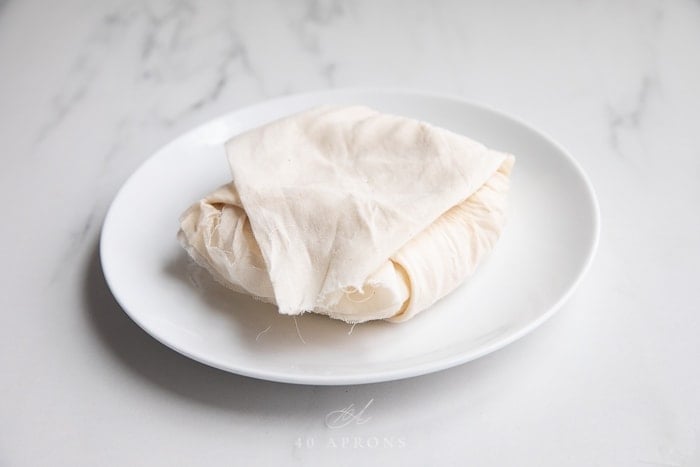
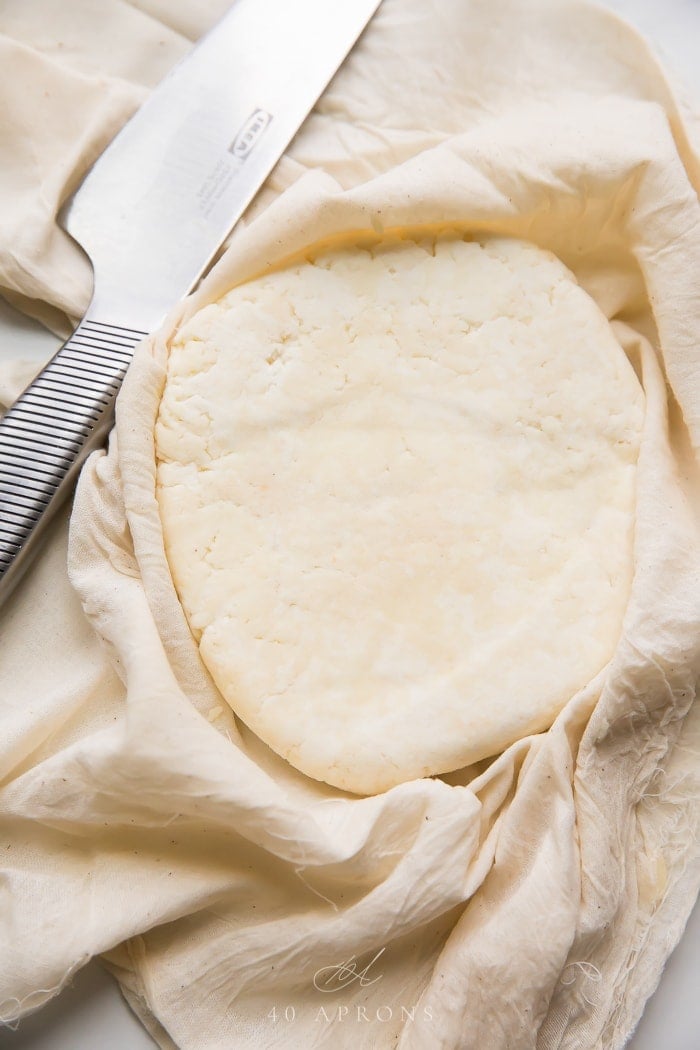
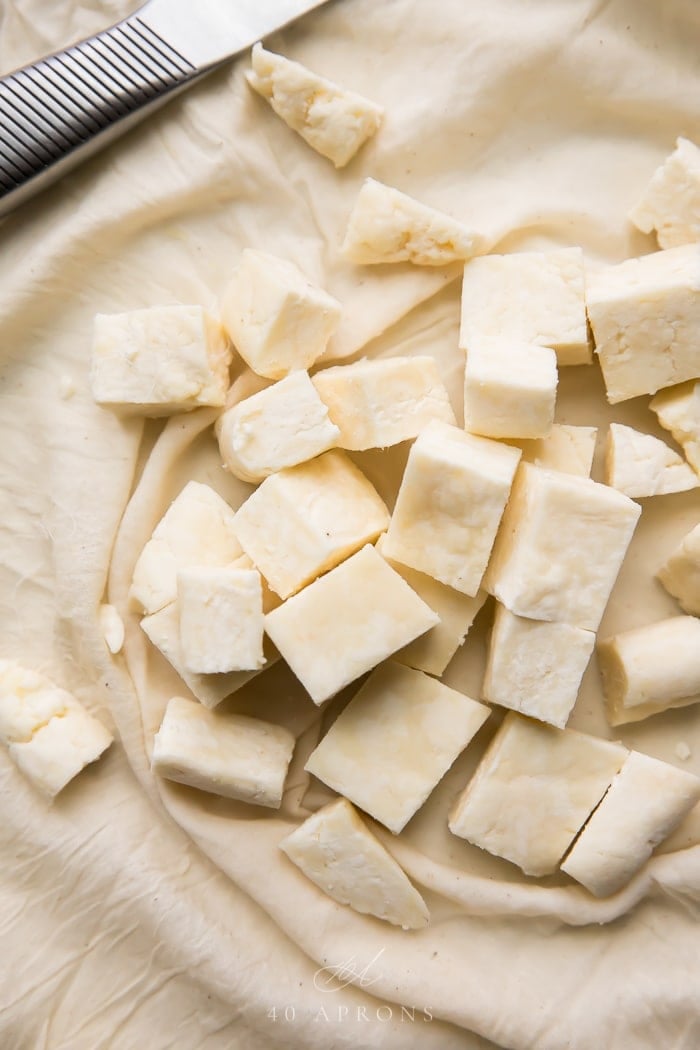
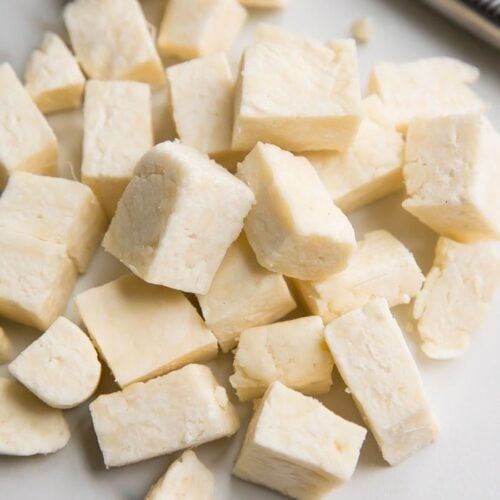
Start by pouring your milk into a large heavy-bottomed pot and placing over medium heat. Bring the milk to just a boil. The milk should produce a layer of bubbly foam on top and smell really rich and fragrant. As soon as the milk boils, remove the pan from the heat and stir in the lemon juice. As you stir, the milk should immediately separate into curds and whey: white cottage cheese and yellowy liquid. Line a strainer with 2 layers of cheesecloth and pour the curds and whey through. This will leave just the solid white curds. Discard the whey or save it for another use, like lactofermentation or whey beverages. Rinse the curds under running water to reduce any lemon flavor. Toss the solid curds with a bit of salt then wrap up in a ball in the cheesecloth and squeeze very tightly to get out as much water as possible. Less water = creamier cheese. Live it. Once you’ve squeezed out as much water as you can, flatten the ball of curds in the cheesecloth into a disc. Lay the cheesecloth over the disc as flat as you can get it, to produce the smoothest top. Place a plate on top and weight the top plate down; I use a couple cans. Chill for 20 minutes to 2 hours. The longer you press, the firmer the cheese. It will still be rich and creamy but it won’t melt into your dish. It will be hard to fry or sauté paneer that has only been pressed 20-30 minutes. I recommend pressing 90 minutes – 2 hours. Then, unwrap the paneer, cut into cubes, and you’re done!
Can I use organic milk?
Well… you can, but it cannot be ultra-high temperature pasteurized (UHT), which is a very common process for organic milk. Ultra high temperature pasteurization kills out certain structures in the milk that you need to get them to properly form curds and produce homemade cheese. I prefer to use local, high butterfat milk for the creamiest, richest paneer ever, and it’s processed at a low temperature. If you can find organic milk that does not undergo ultra high pasteurization, you should be fine.
How long do I have to press the paneer?
You can absolutely press the paneer for just about 20-30 minutes and move on about your life. However, that will result in a meltier cheese, rather than the firm cubes you have at an Indian restaurant. I personally prefer to press my homemade paneer for 1-2 hours to really firm the cheese up without losing any richness or creaminess. This produces a better result for recipes that require frying the paneer first.
Other Indian Food Recipes You’ll Love:
Paneer Tikka MasalaPalak Paneer (Restaurant Style)Iced Golden Milk LatteIndian Butter ChickenSaag ChickenBest Instant Pot Chicken Tikka MasalaWhole30 Chicken CurryWhole30 Butter ChickenIndian Meatballs with Creamy Sauce
Hey – you’ve made it this far, and now we’re best friends! If you make this recipe, I’d love for you to give it a star rating ★ below. Make sure you follow me on Instagram, Pinterest, and Facebook, too!