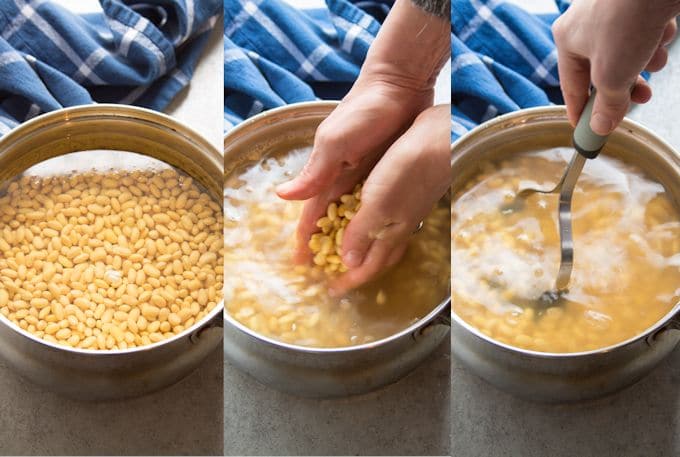
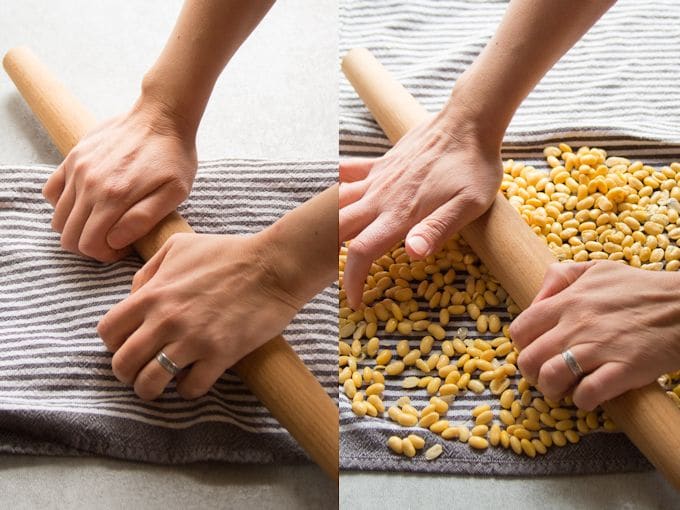
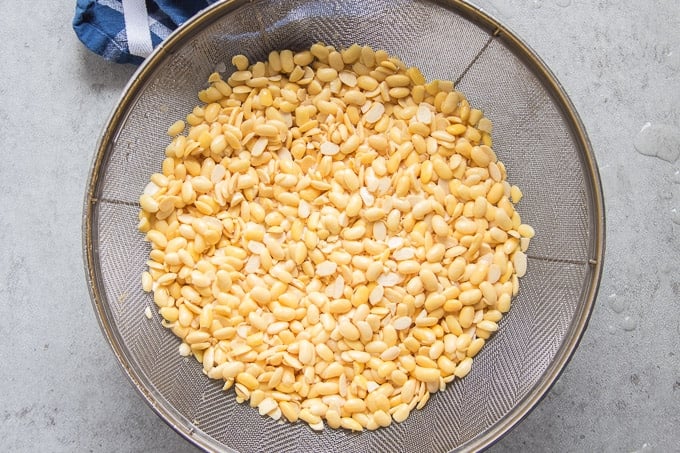
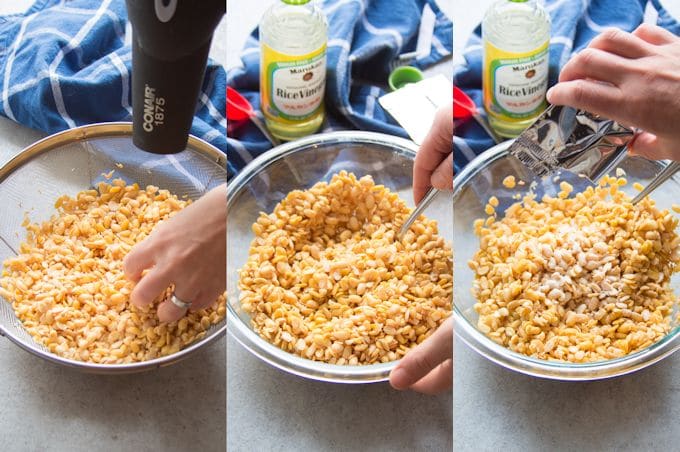
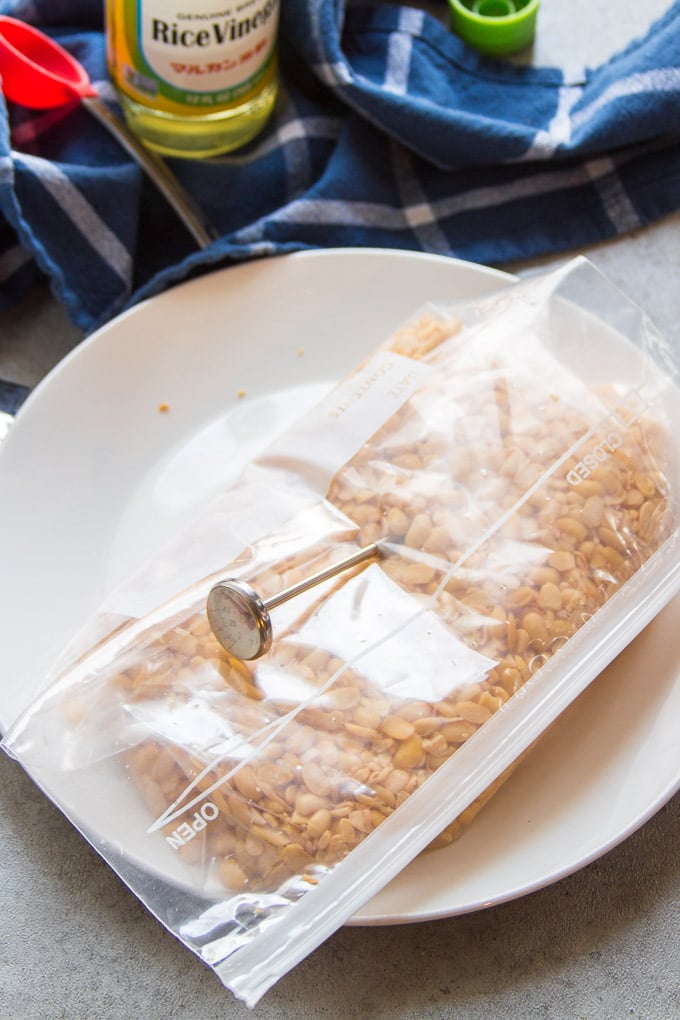
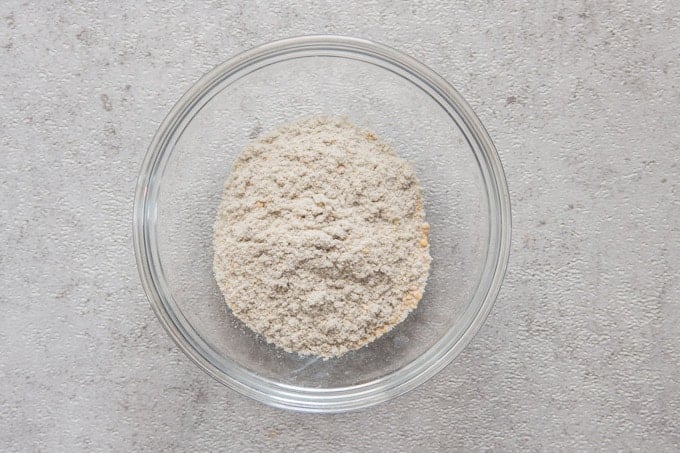
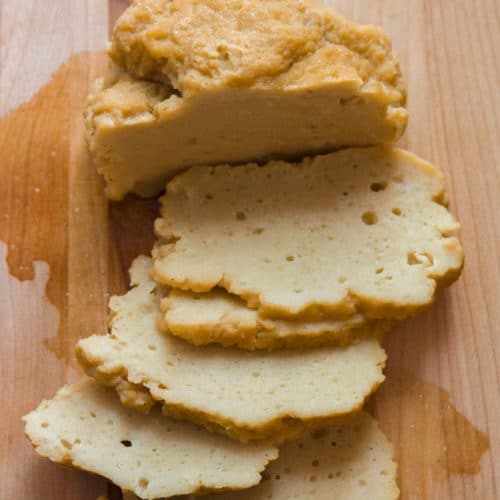
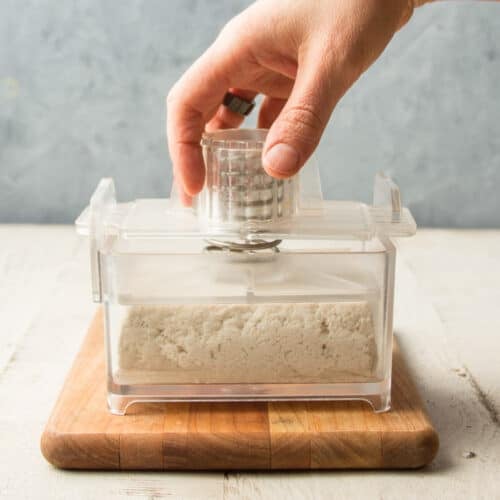
But let’s just say maybe you’re not. (I don’t know why you’re here, but stick with me.) Homemade tempeh might just change your mind. It’s so much better than store-bought. The world is full of tempeh haters, and I find that their biggest complaint is generally related to tempeh’s flavor. Tempeh can have a funky, bitter flavor that some folks aren’t a fan of. Homemade tempeh, unlike lots of the store-bought stuff, generally has no bitterness to it. Just a mild, nutty, slightly yeasty flavor. Having said that, making tempeh can be a bit labor intensive and it takes a few days. I often recommend it for people like me, who love tempeh to begin with and want to enjoy it at it’s best. Today I’m going to teach you how to make tempeh. But first, let’s start with some background! Tempeh is a fermented soybean product that originated in Indonesia. It’s an excellent plant-based protein ingredient that’s super versatile and pretty easy to cook with, which is why it’s a favorite food among many vegans and vegetarians. In tempeh, soybeans are bound together with a type of fungus. That’s right: fungus. Don’t freak out! Fungus has it’s place in culinary applications. Mushrooms are fungus, after all. Rhizopus ogliosporus is the specific type of mycelluim used to make tempeh. In tempeh, soybeans are actually bound together into a solid block of mycellium. We’ll talk about the actual process of growing fungus around soybeans in the tutorial and recipe below. Tempeh can be purchased at most supermarkets, usually in the refrigerated area of the natural foods section, near the tofu. If you’ve never tried tempeh before I highly recommend you at least buy some before attempting to make your own. Tip: These are the basic ingredients for making traditional tempeh, but tempeh can and often does include other ingredients. Beans such as chickpeas, lentils and black beans may be used in place of soybeans, as can some seeds such as hemp seeds. Other seeds or grains can also be used in combination with soy beans or or other beans to make tempeh. Try experimenting with different ingredients once you get a feel for the process! Soak the beans overnight. 12 hours is the perfect amount of time. I’ve read other tips to try using a stand mixer or food processor with a dough kneading attachment. I tried both and pretty much got nowhere. But feel free to experiment and see what works best for you! In any event, your goal is to split the beans in half. Once they split, the skins will slip right off. and when you can see that the beans are split, it’s easy to confirm that they’ve been hulled. Your starter may instruct you to physically dry them with a towel or hair dryer. I found toweling them off to be pretty ineffective, so I dry them with my hair dryer on low. Keep them in the colander or in a bowl when you do this (don’t arrange them on a flat surface or anything like that — they’ll fly everywhere!). Tip: Traditional tempeh is fermented in banana leaves. Look for them in Asian markets if you’d like to give this a try. This sounds tricky, but it’s really not. First off, stick a thermometer into your beans. Poke a hole through the bag and stick it right in there. During the summer, you may find that room temperature is warm enough. During the cooler months, I simply place everything on a plate, turn on my oven light, and set the plate near the back of the oven, close to the light. An hour or so later, I’ll take a peek at the temperature. If it’s too cool, I’ll take the plate out of the oven, heat up the oven just for a minute or two, then put the plate back. If it’s too hot, I’ll move the plate away from the light. Keep an eye on the temperature, but don’t lose sleep over it. My temperature usually dips a bit below 85°F or jumps above 90°F for an hour or so here and there, and my tempeh turns out fine. Just do your best to keep it from staying consistently out of range. After about a day, you might notice the temperature of your tempeh climbing. This is good! Once the fermentation really gets going, the mycelium starts to generate its own heat. Move the tempeh away from your heat source, or remove it completely. My tempeh’s temperature often climbs up near 100°F, without an additional heat source, during this time. Soon you’ll start to see some white fuzz growing on your beans. This is the mycelium. And over the next day or so, the mycelium will start to completely cover the beans. Eventually the mold will completely envelop the beans and you’ll end up with a solid cake of mold and soybeans. Your tempeh is now done! If you’d like some more starter for future batches, you can get some from your new tempeh. Just cut off a small piece (a 1-inch cube is more than enough) and return it to incubation to allow for continuation of the fermentation process. Again, you’ll want a vented container and a temperature between 85°F and 90°F. I use a small bowl covered with plastic wrap with pin holes poked in it. Let the tempeh continue to incubate. The mycelium will continue to grow. It might get really fuzzy, and it should start to turn gray or black. Mine usually ends up looking like dryer lint. When you see lots of gray and/or black fuzz, remove the temeph from the incubator and let it sit out at room temperature to dry out. This can take 3 to 7 days, depending on the temperature and humidity. Once the tempeh is dry, grind it up. You can use a mortar & pestle or a small blending device like a coffee grinder. Add 2 parts rice flour, by weight. Seal up the tempeh in a storage container or plastic bag, and refrigerate until you’re ready to use it. You’ll need 1 teaspoon for future batches of tempeh. Some folks like to steam tempeh before incorporating it into a recipe. Steaming softens up tempeh and removes much of it’s bitterness, which is mostly an issue with store-bought tempeh, although your homemade tempeh may start to taste bitter as it ages in the fridge. Read this article on how to steam tempeh to learn exactly how do it’s done. For more details and ideas, have a look at my complete guide to cooking with tempeh, or try one of these tempeh recipes. Ready to make some tempeh and then start cooking with it? Here’s your printable recipe, below. And be sure to refer to the details above for guidance. Like this recipe? If so, please stop back and leave me a review and rating below if you try it! Also be sure to follow me on Facebook, Pinterest or Instagram, or subscribe to my newsletter for more recipes like this one!