Ingredients & Substitutions
Here I explain the best ingredients for my pan seared chicken thighs recipe, what each one does, and substitution options. For measurements, see the recipe card.
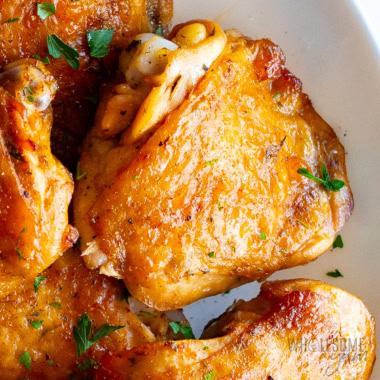
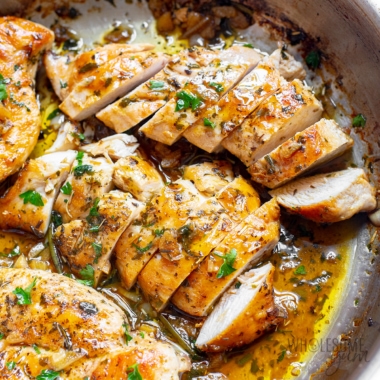
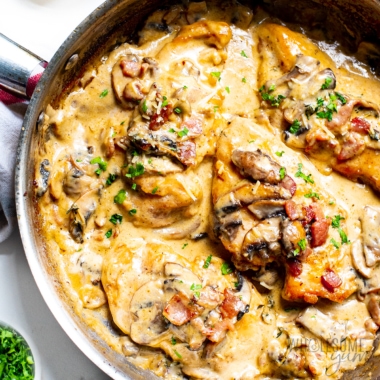
How To Pan Fry Chicken Thighs
I have step-by-step photos here to help you visualize the recipe. For full instructions with amounts and temperatures, see the recipe card.
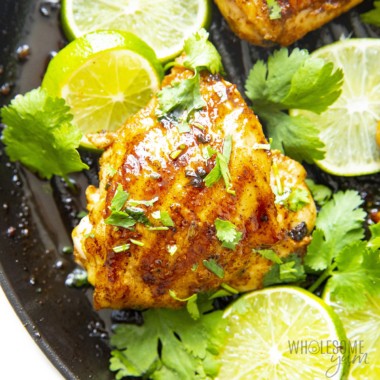
I kept the spices pretty simple, but for a stronger flavor, you can season with lemon pepper, poultry seasoning, blackened spices, or even fajita seasoning. Just use a tablespoon of your favorite instead of the spices above.
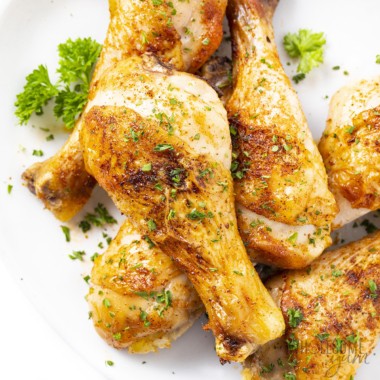
Start with the skin side down. This way, you can render some of the fat in the pan and make the skinless side easier to brown. Don’t crowd the pan. Cook in batches if needed. Crowding can lead to uneven cooking. Only flip once. Less flipping means juicier, more evenly cooked chicken. Watch the heat. I like to sear at medium-high, but this may be too hot for your stove or pan. If you find that the skin gets brown but isn’t actually crispy, it means not enough of the fat has rendered. Turn down the heat to prevent burning, and keep cooking to crisp the skin more. Important note on crispy skin: The skin crisps up beautifully in the skillet, but keep in mind it does soften a bit after you cover the chicken. Sadly, pan fried chicken thighs don’t really cook through if you don’t cover them (trust me, I’ve tried!). Make sure to get the skin extra crisp before covering! And if you don’t want the skin to soften even a little bit, I recommend transferring the skillet to the oven to finish cooking, like I do for cast iron chicken thighs. Don’t forget to let the chicken rest. This gives the juices time to settle, so the chicken stays juicy and tender when you cut into it.
Starches – For a comfort food meal, I love serving chicken thighs with pan sauce over a starch that can soak up the extra sauce. Try my roasted potatoes, creamy mashed cauliflower, cooked rice, quick frozen cauli rice, or even mixed root vegetables. Veggies – I like to repurpose the same pan I used for pan seared chicken thighs to saute zucchini (pictured above) or even saute cabbage. You can also cook your sides at the same time if you throw some broccoli in the air fryer or asparagus in the oven. Salads – Lately I’m obsessed with this fall salad! For a light and colorful combo, whip up my broccoli cauliflower salad or Israeli salad.
Please enter your first name for your account. Your saved recipe will also be sent to your email.
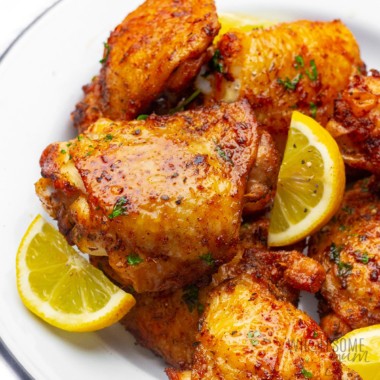
Tips: Be sure to check out my recipe tips above for best results. I’ve got some notes on how you want to arrange the chicken, when to flip, etc. Important note on crispy skin: The skin does soften a bit after you cover the chicken, but it won’t cook through well if you don’t. Make sure to get the skin extra crisp before covering! And if you want extra crispy skin, make my cast iron chicken thighs (they use a different method) instead. Store: Let the chicken cool, then cover and store in an airtight container in the fridge for up to 3-4 days. I like to shred the leftovers and toss them into a green goddess salad or chicken Caprese salad! Meal prep: Season the chicken thighs a day ahead and store them in the fridge. This helps the flavors absorb better into the meat! Reheat: Warm it up in a skillet on the stove, bake at 300 degrees F wrapped in foil, or pop it in the microwave on low power. Freeze: Wrap the pan fried chicken thighs tightly and freeze for up to 3 months. Thaw overnight before reheating.


![]()


![]()
![]()