I truly am blessed to have grown up in a household with an incredible Thai cook. Mainly because I’ve enjoyed many years of delicious Thai food, but also for times like these where I get to share some of the love! I was taught this recipe a while back, and I’m super excited to finally share it with you. The recipe card is at the end of the post, but first I’ll go a little more in-depth with some step-by-step photos. Follow me…
Peanuts
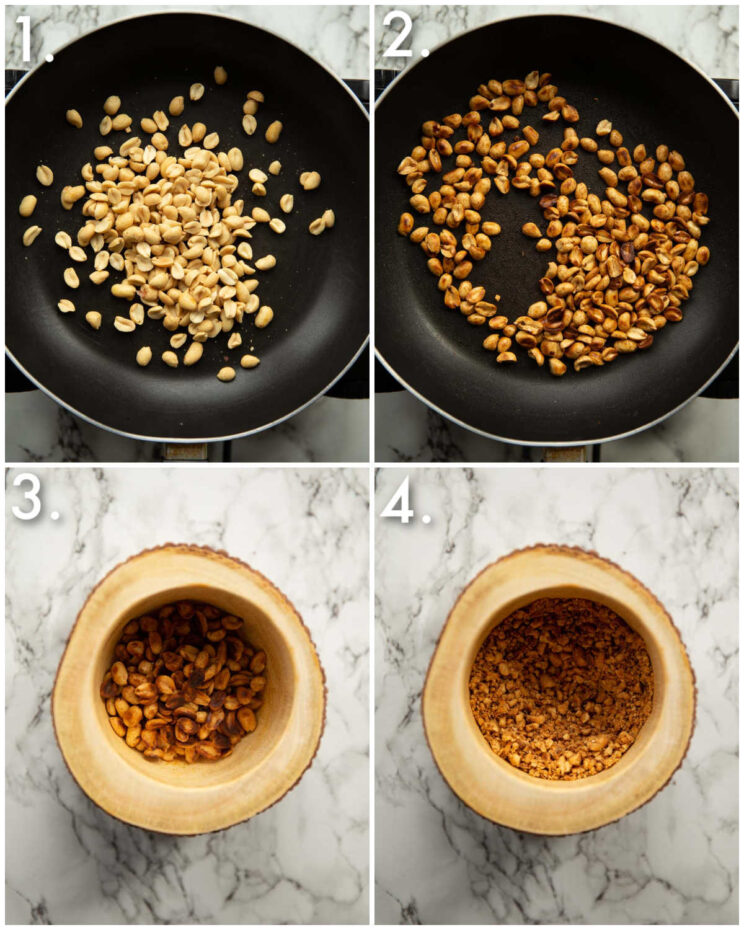
Peanuts are an integral part of both the spring rolls themselves, but also the dipping sauce to go alongside. They offer gorgeous flavour and a nice bit of texture too. The very first thing you’ll want to do is toast the peanuts, which is easily done in a dry pan. This is an important step to lightly char the peanuts and intensify their flavour. After you’ve done this you’ll want to crush them, just so they can run through the spring roll filling a little more seamlessly. Process shots: add unsalted peanuts to dry pan (photo 1), toast until deep golden/lightly charred (photo 2), add to pestle and mortar (photo 3), roughly crush (photo 4).
Thai Spring Roll Filling
Peanuts out the way, let’s talk filling. The first thing you’ll want to do is get the pork on the go.
Coriander/Cilantro
Coriander is widely used in Thai cooking, and these spring rolls are no exception. Traditionally you’d use coriander roots, but they’re sometimes tricky to get your hands on. As such, we’re just going to use the coriander stems instead. Crushing them with garlic will release the flavour and create a flavour base for the pork.
Ground Pork
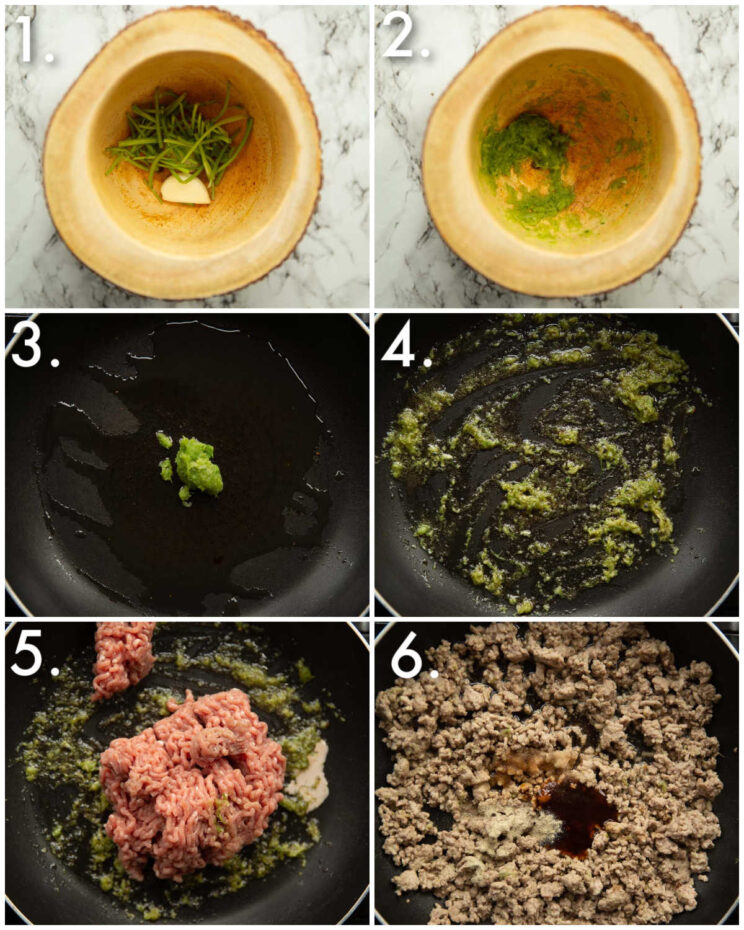
You really want the filling to be as dry as possible, just so the spring rolls come out nice and crispy. As such, I usually opt for low-fat pork. Once you’ve fried the pork in the garlic/coriander you’ll want to add in oyster sauce, soy sauce, sugar and white pepper, just to really ramp up the flavour. Process shots: add garlic and coriander stems to a pestle and mortar (photo 1), crush into a paste (photo 2), add to pan with oil (photo 3), fry (photo 4), add pork (photo 5), fry then add oyster & soy sauce, sugar and white pepper (photo 6).
Once the pork’s out the way, it’s time for a few more goodies.
Glass Noodles
You’ll want to soak these until soft, but still a touch al dente (they’ll continue cooking in the pan). I also recommend cutting them a few times with a pair of scissors before adding them to the pan, just so you don’t pull out long strands of noodle with every bite!
Egg
This will be scrambled in the pan.
Veg
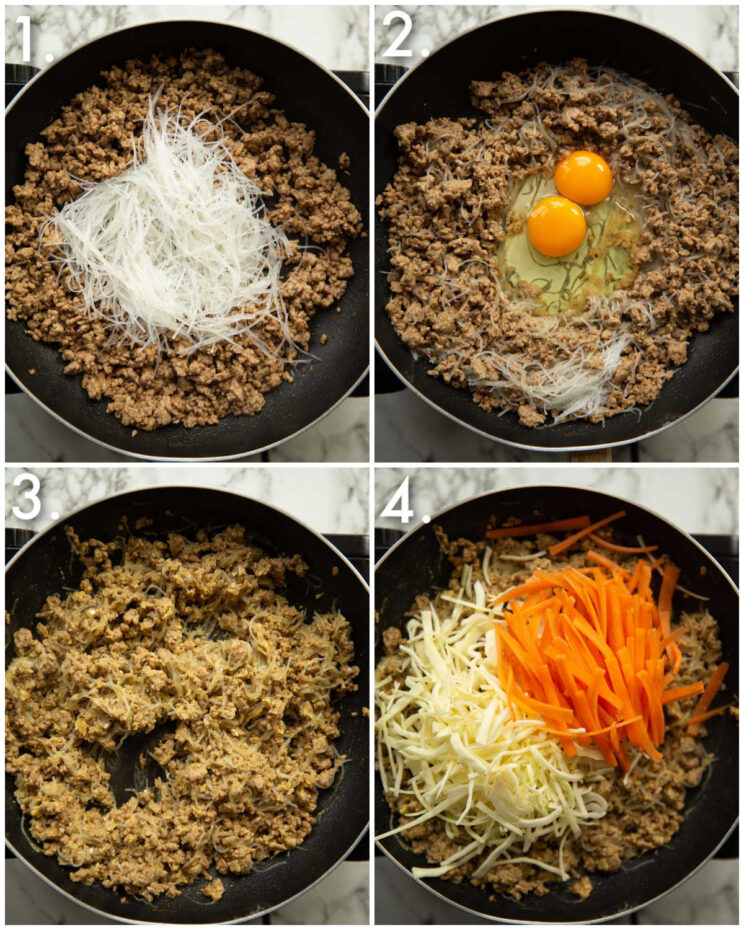
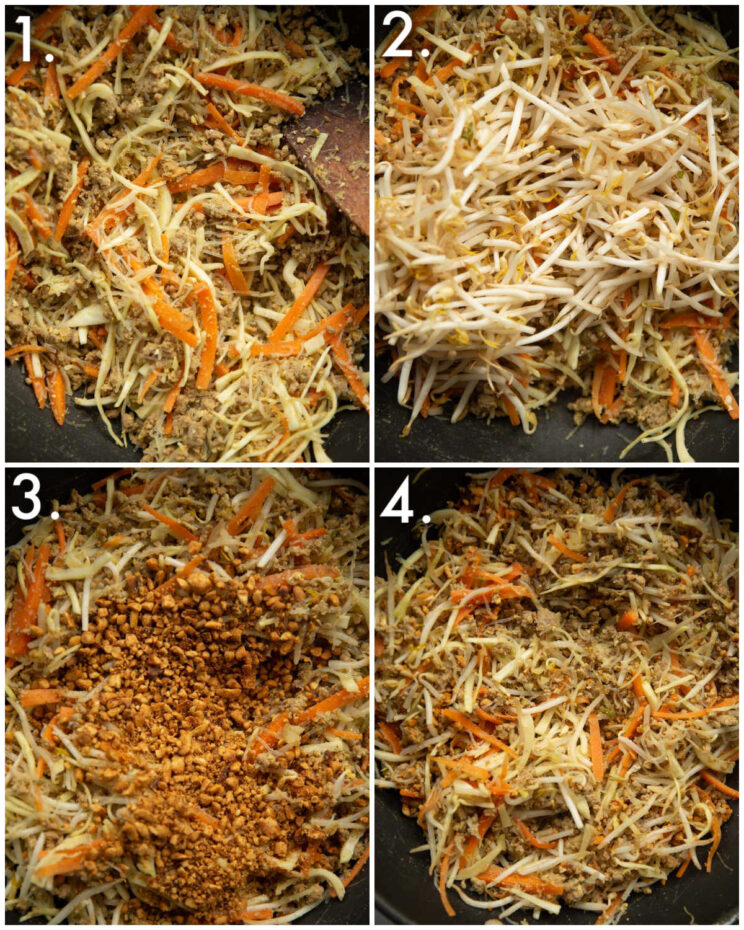
3 main veg in Thai spring rolls are cabbage, carrot and beansprouts. Important to really finely slice the carrot and cabbage, ideally to the same size as the beansprouts. Not only will this ensure they cook through quickly, but it also means you don’t get huge chunks of veg taking up room in the spring rolls. I recommend frying the cabbage and carrot first because they’re both quite firm, then adding in the beansprouts. Process shots: add soaked & cut noodles (photo 1), crack in eggs (photo 2), stir to scramble (photo 3), add cabbage and carrot (photo 4).
Allowing the filling to cool
Once you’ve tossed through the beansprouts and peanuts, let the filling COMPLETELY cool before you make the spring rolls. This is important – the filling needs to be cool/room temp before making spring rolls or they’ll steam from the inside and burst open when you fry them. Trust me, I’ve been there! Process shots: fry cabbage and carrot (photo 1), add beansprouts (photo 2), fry then add peanuts (photo 3), stir then cool (photo 4).
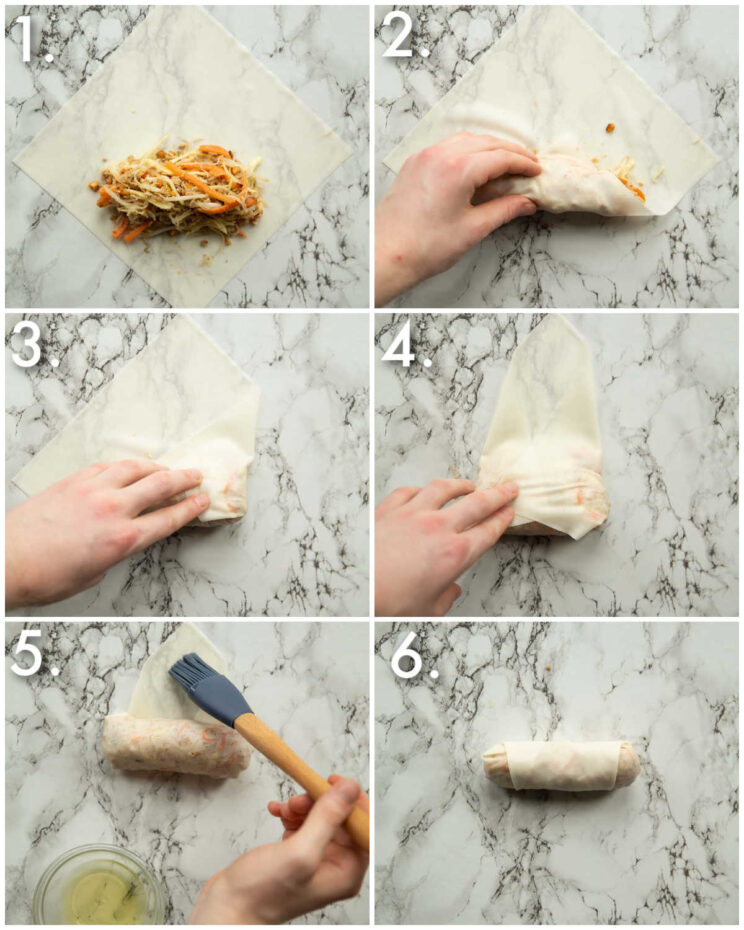
How to roll Thai Spring Rolls
The first really important thing to do is make sure the spring roll wrappers don’t dry out. To ensure this, just rest a damp towel over the pile of wrappers in between rolling. The second important thing is to make sure you seal the spring rolls shut properly. To do this you’ll want to brush with egg white. The last thing to consider is making sure you roll them tightly, but also carefully. It’s important that you roll tightly (any gaps = big air bubbles when deep-frying = burst spring roll) but also carefully so you don’t rip the wrapper. Process shots: add filling to bottom centre of wrapper (photo 1), fold over bottom (photo 2), fold in right side (photo 3), fold in left side (photo 4), roll then brush with egg white (photo 5), roll and seal shut (photo 6).
How to cook Thai Spring Rolls
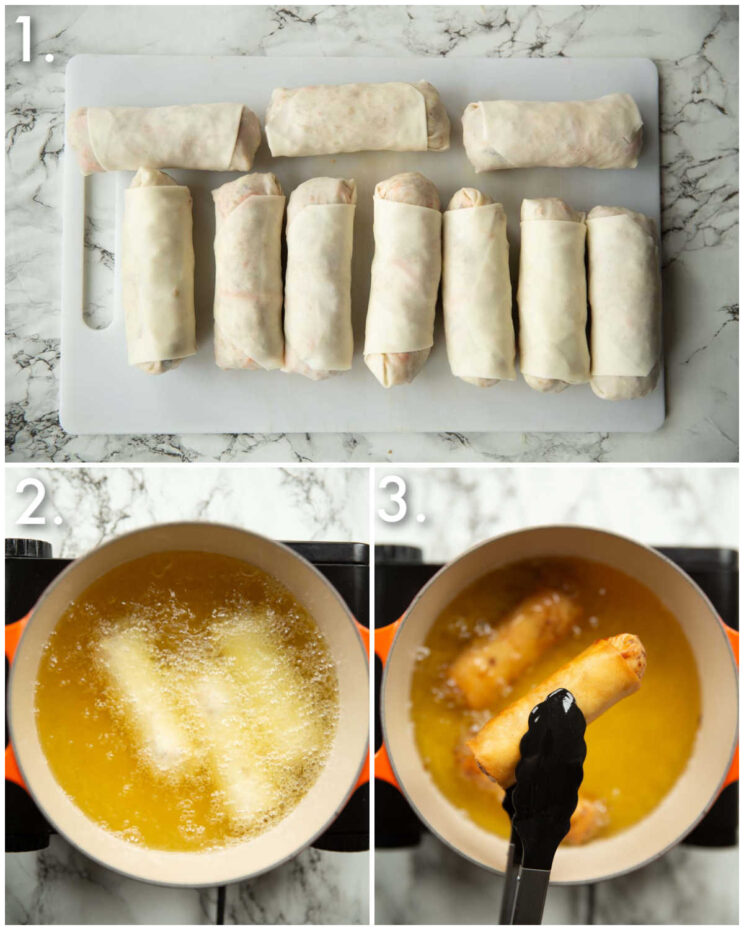
When it comes to cooking the spring rolls, they’ve gotta be fried. I have seen recipes bake spring rolls, others in the air fryer, but you just don’t get that same deep golden, crunchy casing. Just a few tips for frying:
Resting – After you roll each spring roll, just rest them seam-side-down to help them securely shut. Temp – Ensure you get the oil nice and hot before frying (180C/350F). The inside is already cooked, so this is more about cooking the outside. Batches – Work in batches to ensure you don’t overcrowd the pot.
Process shots: roll all spring rolls (photo 1), add to hot oil in batches and fry until deep golden and crispy (photos 2&3).
Thai Spring Rolls Dipping Sauce
For a super-duper easy spring roll dipping sauce you’ll need the following:
Water & Sugar – This will create the base for a sweet, syrupy sauce. Tamarind – Cuts through the sweetness. You’ll find this in most supermarkets (sometimes called Tamarind Paste). Salt – Balances out the sweet and sour. Chilli Flakes – Adds a kick of heat. Peanuts – Use some of the toasted/crushed peanuts from earlier.
Process shots: simmer water and sugar then add tamarind, salt and chilli flakes (photo 1), stir and simmer until it starts to turn syrupy (photo 2), turn off heat and add peanuts (photo 3), stir to combine (photo 4).
Do I have to make the spring roll dip?
You don’t have to make this specific dip, but you’ll want some form of dip to serve, just because the spring rolls are fairly dry. Thai sweet chilli sauce is always an easy option!
Where can I buy Spring Roll Wrappers?
You’ll find them in most supermarkets/grocery stores. Most definitely in all Asian stores, both usually in the freezer section.
Can I make these ahead of time?
I don’t recommend making them fully ahead of time, but you can prep the filling ahead of time, or roll them and tightly store in the fridge/freezer until ready to cook (more on this in the recipe card notes below).
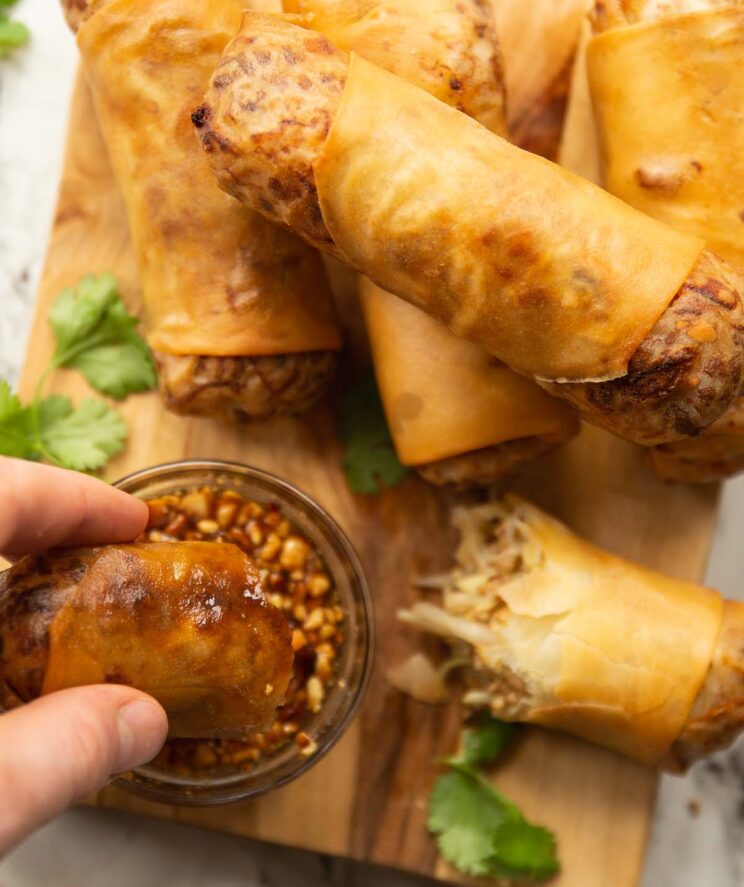
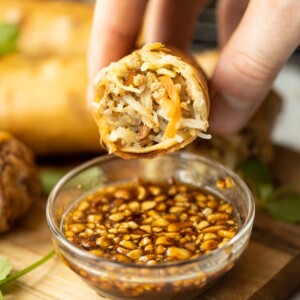
Serving Thai Spring Rolls
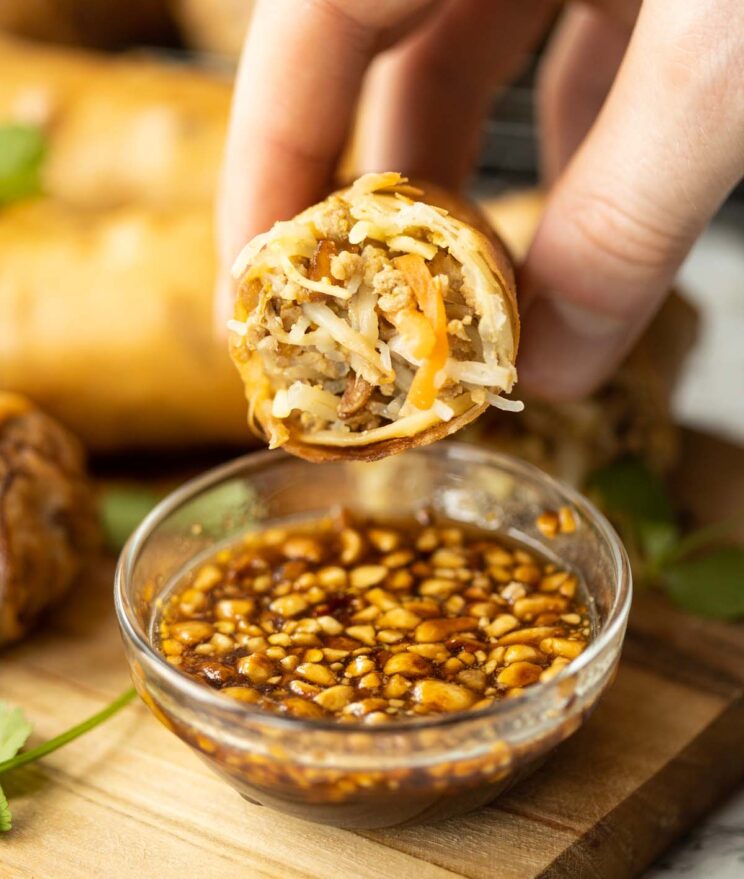
I typically serve these as a starter or as an appetizer when I’ve got friends over (usually two per person as they’re pretty huge!). To serve, I like to slice them in half, but you could dice them into 3 or 4. If the dip has thickened too much just whisk in a splash of hot water to thin it out as needed. For more awesome Thai recipes check out my Thai Fried Chicken, Thai Pork Toast and Chicken Thai Green Curry! Alrighty, let’s tuck into the full recipe for these Thai spring rolls shall we?!
How to make Thai Spring Rolls (Full Recipe & Video)
If you loved this Thai Spring Rolls Recipe then be sure to Pin it for later! Already made it or got a question? Give me a shout in the comments and pick up your free ecookbook along the way!